Picture this: I’m standing in a cramped kitchen, a burnt batch of cinnamon rolls on the counter, and my friend’s voice echoing from the phone, “You have to try this, it’s the best.” The kitchen smelled of charred sugar, but the promise of something sweet and unblemished was a siren call. That night, I decided to rewrite a classic, turning a humble custard into a cloud‑soft, caramel‑kissed delight that would make even the most seasoned pastry chefs swoon.
I set my oven to a precise 375°F, the kind of temperature that caramelizes sugar without burning it, and I watched the batter swirl in a glass bowl like a miniature galaxy. The air filled with the faint scent of vanilla and the promise of buttery pastry, a sensory prelude that made my stomach rumble in anticipation. My friends were skeptical, but I promised them a version that would make them taste the clouds. I dare you to taste this and not go back for seconds.
The secret? A silky custard that clings to the pastry like velvet, a puff pastry that crackles with golden edges that shatter like thin ice, and a touch of pure vanilla that whispers of summer mornings. I’ll be honest — I ate half the batch before anyone else got to try it. Most recipes get this completely wrong. Here’s what actually works: a precise ratio of eggs, yolks, milk, and cream, and a method that ensures the custard sets just right while the pastry stays crisp.
Picture yourself pulling this out of the oven, the whole kitchen smelling incredible, and the golden custard pockets glistening like tiny moons. The first bite is a burst of sweetness followed by a buttery, airy texture that melts in your mouth. If you've ever struggled with custard that turns into a rubbery mess, you're not alone — and I've got the fix. Let me walk you through every single step — by the end, you'll wonder how you ever made it any other way.
What Makes This Version Stand Out
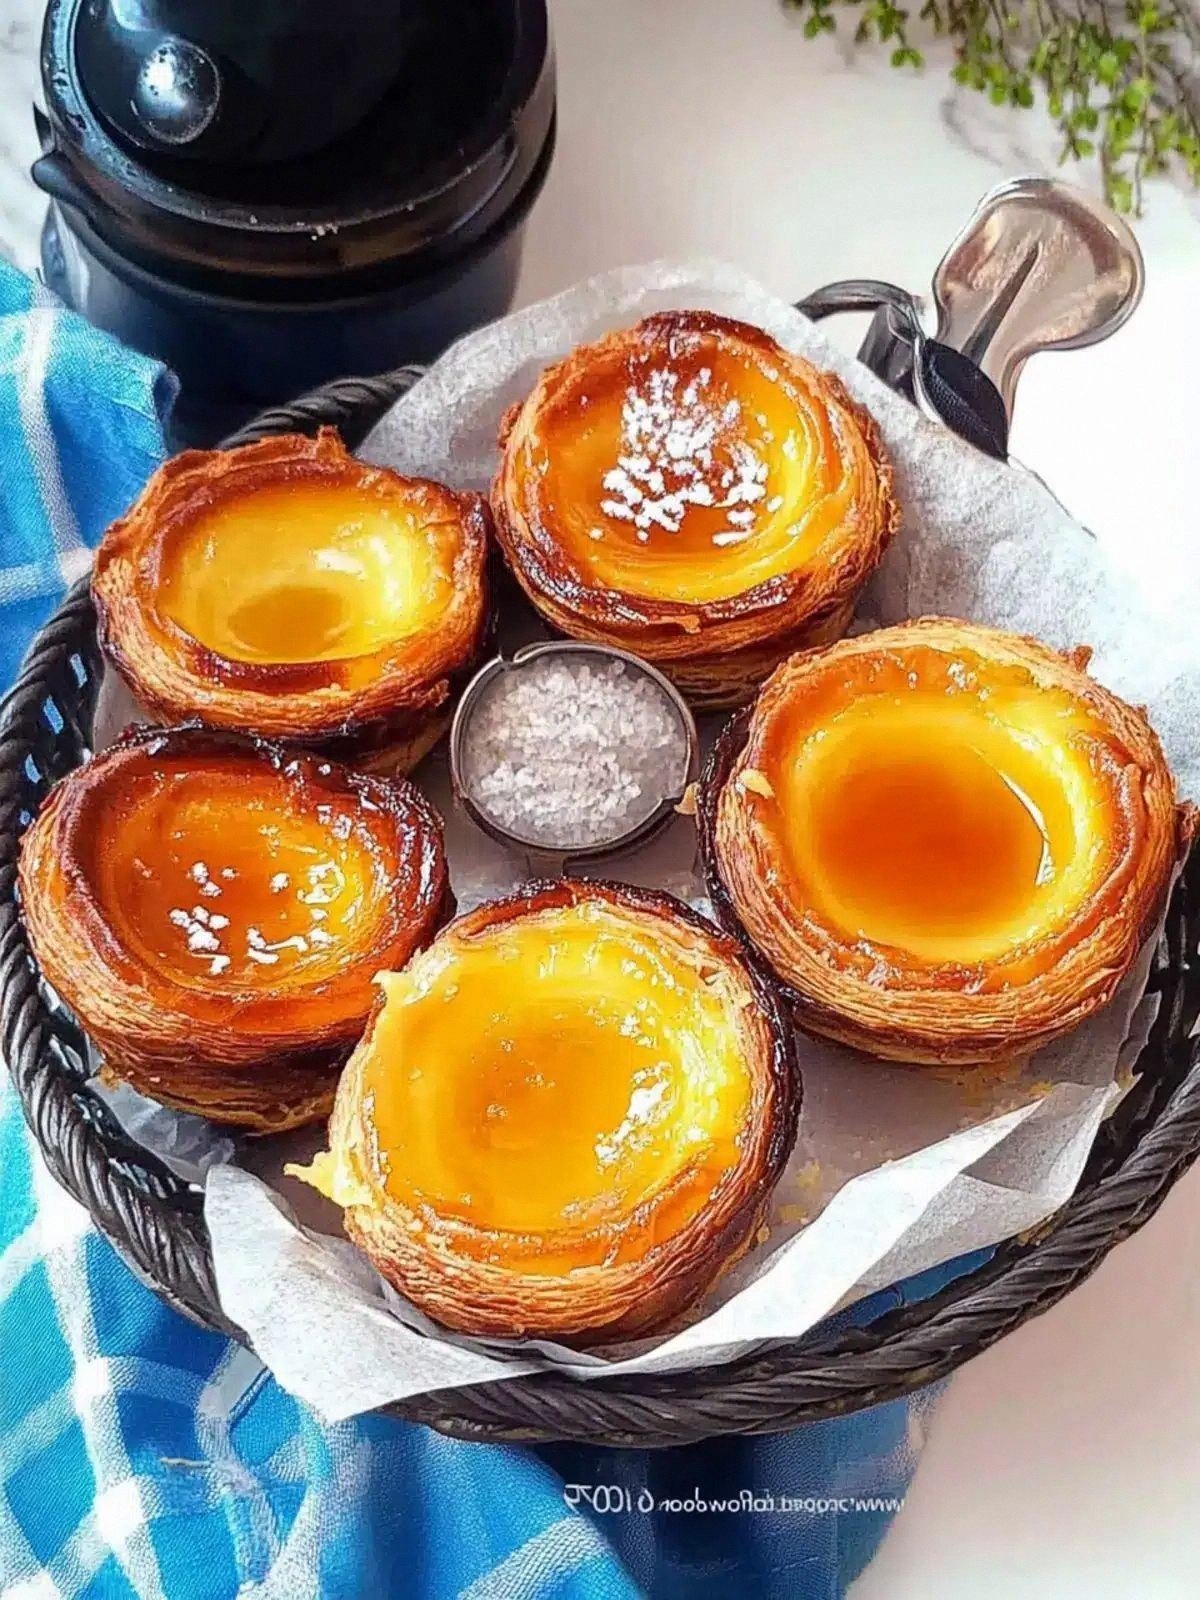
- Flavor: The custard is infused with pure vanilla and a balanced blend of eggs and yolks that creates a rich, silky mouthfeel. The caramelized sugar on top adds a sweet, slightly crunchy contrast that elevates every bite.
- Texture: The puff pastry remains crisp and flaky while the custard stays airy and tender. The contrast feels like a dance between crunch and silk.
- Ease: No advanced techniques, just a simple whisk and a short bake time. Even beginners can follow along without a recipe book in hand.
- Uniqueness: The use of a yolk‑heavy custard gives depth, while the puff pastry base adds a buttery crunch that most traditional versions lack.
- Crowd Appeal: Guests rave about the caramelized top and the melt‑in‑your‑mouth custard. It’s the kind of dessert that turns a dinner party into a memorable event.
- Ingredient Quality: Using fresh eggs, heavy cream, and high‑grade puff pastry ensures the flavor profile is unmistakable and luxurious.
- Make‑Ahead: You can assemble the pastries a day ahead and bake them right before serving, saving you last‑minute prep.
- Scalability: The recipe scales perfectly for larger gatherings or for a single indulgent treat.
Alright, let's break down exactly what goes into this masterpiece...
Inside the Ingredient List
The Flavor Base
The custard begins with two large whole eggs and three egg yolks, which provide body and richness. The yolks add a deep yellow hue and a velvety mouthfeel that pure egg whites cannot achieve. Skipping the yolks would result in a thin, watery custard that fails to caramelize properly.
The Texture Crew
Heavy whipping cream and whole milk form the custard’s backbone, balancing richness with lightness. The 0.67 cup of cream gives a buttery finish, while the 0.33 cup of milk keeps the mixture from becoming overly dense. If you substitute non‑fat milk, the custard will be thin and lack the luxurious texture that defines this recipe.
The Unexpected Star
A half cup of white granulated sugar does more than sweeten; it caramelizes during baking, creating a golden crust that adds a subtle crunch. The sugar also helps set the custard’s structure. If you use brown sugar, you’ll get a deeper flavor but lose the crisp caramelized top.
The Final Flourish
Two packages of puff pastry (14 oz each) provide a flaky, buttery base that contrasts with the silky custard. The pastry’s layers puff up during baking, creating a light, airy shell that holds the custard in place. Choosing a high‑quality pastry brand ensures the layers separate cleanly and the texture remains crisp.
Everything's prepped? Good. Let's get into the real action...
The Method — Step by Step
- Preheat your oven to 375°F (190°C). Line a baking sheet with parchment paper to prevent sticking. This step is critical; an oven that’s too hot will scorch the custard, while a cooler oven will under‑cook it.
- In a medium bowl, whisk together the two whole eggs, three yolks, and 0.5 cup of white granulated sugar until the mixture turns pale and thick. The whisking process incorporates air, which later gives the custard a silky texture. If the mixture looks lumpy, let it rest for a minute before whisking again.
- Add 0.33 cup whole milk, 0.67 cup heavy whipping cream, and 1 teaspoon pure vanilla extract to the egg mixture. Stir gently until fully combined. The vanilla adds depth and balances the sweetness; without it, the custard would taste flat.
- Lay one puff pastry sheet on a lightly floured surface and cut it into 4 equal squares. Place each square into a greased muffin tin, pressing the pastry into the corners. The pastry should be snug but not overly stretched.
- Pour the custard mixture evenly into each pastry-lined muffin cup, filling about three-quarters full. The custard should sit just below the top of the pastry, allowing room for expansion during baking.
- Bake for 25–28 minutes, or until the custard sets and the pastry edges turn golden brown. The custard should feel firm to the touch but still slightly wobble when you tap the center. Watch the edges; they should pull away from the tin slightly.
- Remove the tarts from the oven and let them cool on a wire rack for 5 minutes. This short rest allows the custard to finish setting without overcooking. The aroma at this point will be intoxicating, a sweet, buttery scent that fills the kitchen.
- Serve warm or at room temperature. If you like an extra touch of caramel, drizzle a light honey glaze or dust with powdered sugar. The custard’s creamy center pairs beautifully with a crisp, buttery pastry shell.
- Enjoy immediately, because the pastry is best when fresh and the custard is still warm. If you have leftovers, store them in the fridge and reheat gently in a 350°F oven for 5 minutes before serving.
That's it — you did it. But hold on, I've got a few more tricks that'll take this to another level...
Insider Tricks for Flawless Results
The Temperature Rule Nobody Follows
Many bakers bake at 400°F, but this recipe thrives at 375°F. The slightly lower temperature allows the custard to set evenly while the pastry puffs up without burning. I once baked at 400°F and the tops were charred while the custard was still liquid; the 375°F rule saved the day.
Why Your Nose Knows Best
Smell the custard as it bakes. A faint caramel scent indicates the sugar is caramelizing just right. If the aroma is too sweet or you smell a burnt note, it’s a sign to lower the temperature or reduce baking time.
The 5-Minute Rest That Changes Everything
Letting the tarts rest for five minutes after baking allows the custard to finish setting. This short pause prevents a runny center and ensures the pastry remains crisp. A friend once tried to serve them immediately and the custard leaked; that’s why the rest matters.
Use Fresh Eggs for Depth
Fresh eggs have a thicker yolk, which adds richness and a deeper color. If you’re using older eggs, whisk them a bit longer to help them integrate better with the milk and cream.
Add a Pinch of Salt
A tiny pinch of salt balances the sweetness and enhances the vanilla flavor. Skipping salt can make the custard taste flat; I always add it to the sugar before whisking.
Keep the Pastry Cool
If the puff pastry warms up too much before baking, it can become soggy. Keep it in the fridge until right before assembling. A friend once left the pastry at room temperature for an hour and the result was a soggy mess.
Creative Twists and Variations
This recipe is a playground. Here are some of my favorite ways to switch things up:
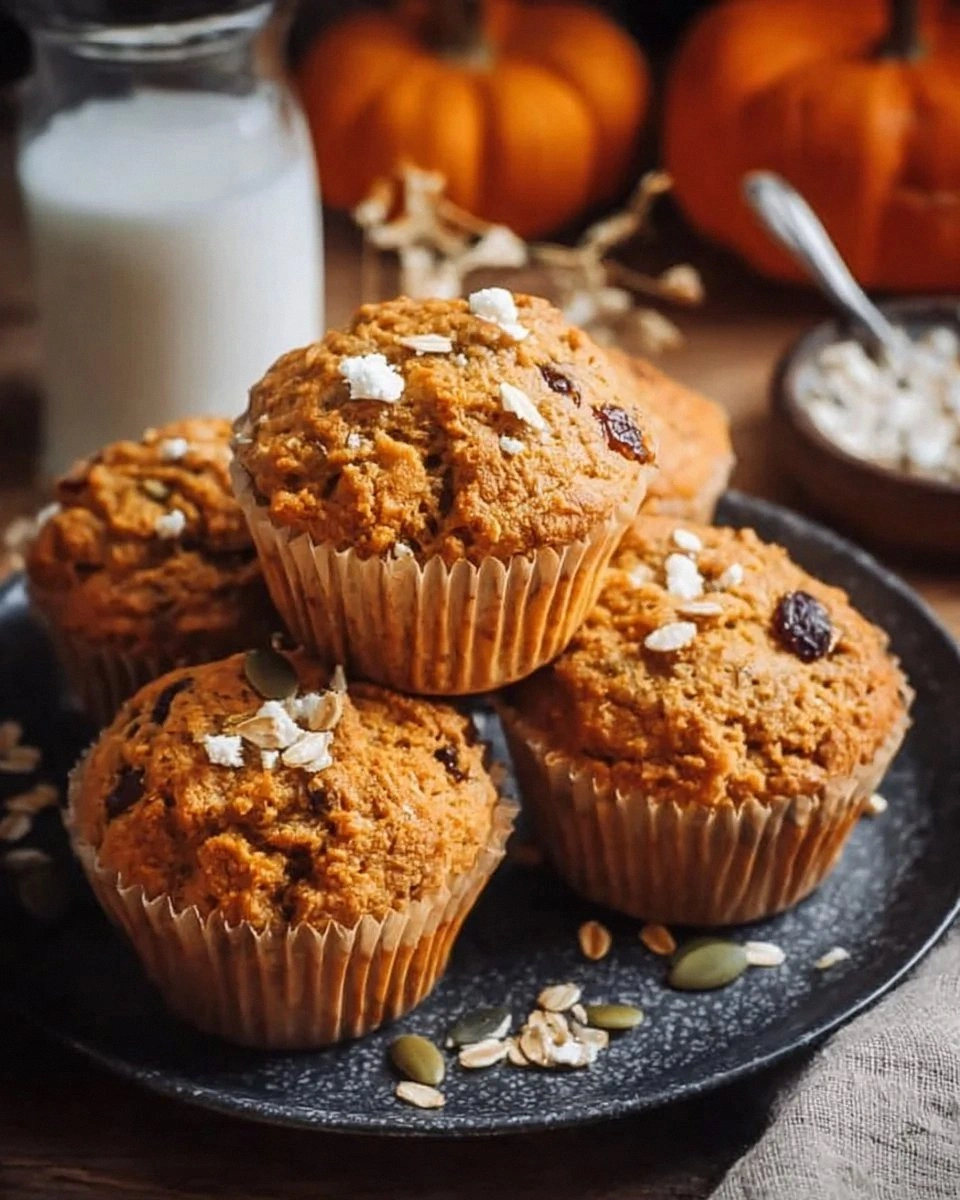
Cinnamon Swirl Twist
Fold in a teaspoon of ground cinnamon into the custard for a warm spice note. Sprinkle a pinch of cinnamon on top after baking for an aromatic finish. This version is perfect for fall gatherings.
Chocolate Drizzle Delight
Drizzle melted dark chocolate over the warm custard for a decadent contrast. The chocolate’s bitterness balances the sweetness of the custard and adds a silky finish. Serve with a dollop of whipped cream for extra indulgence.
Lemon Zest Surprise
Add a tablespoon of lemon zest to the custard for a bright, citrusy lift. The zest’s oils provide a fresh flavor that cuts through the richness. This variation is ideal for summer soirées.
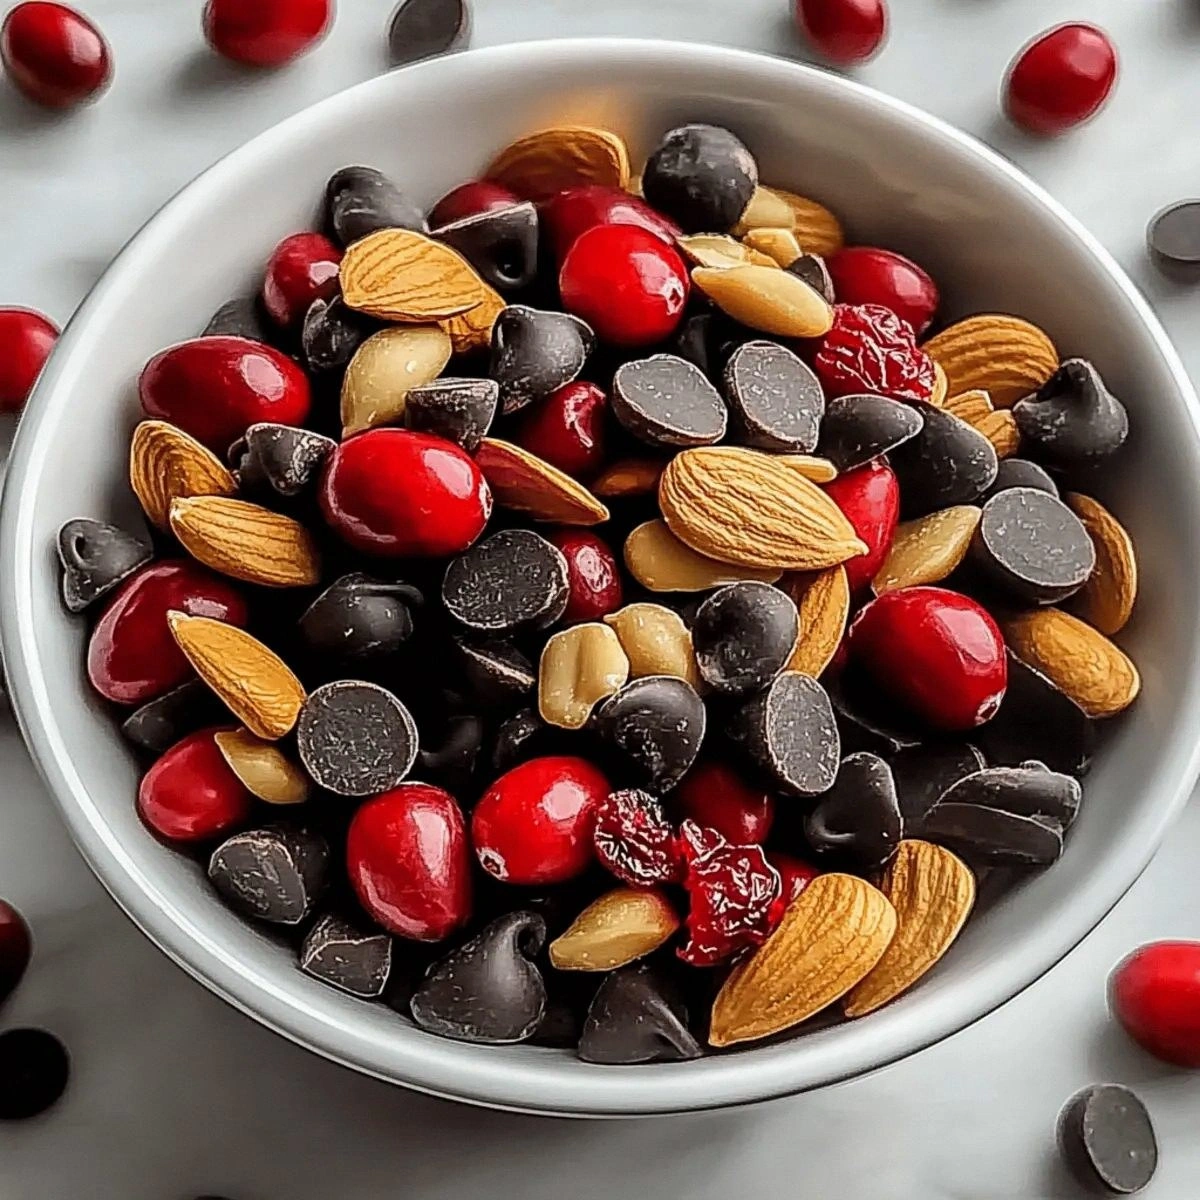
Almond Crumble Finish
Top the finished tarts with toasted almond slivers for a nutty crunch. The almonds add texture and a subtle nutty flavor that complements the buttery pastry. It’s a simple yet elegant upgrade.
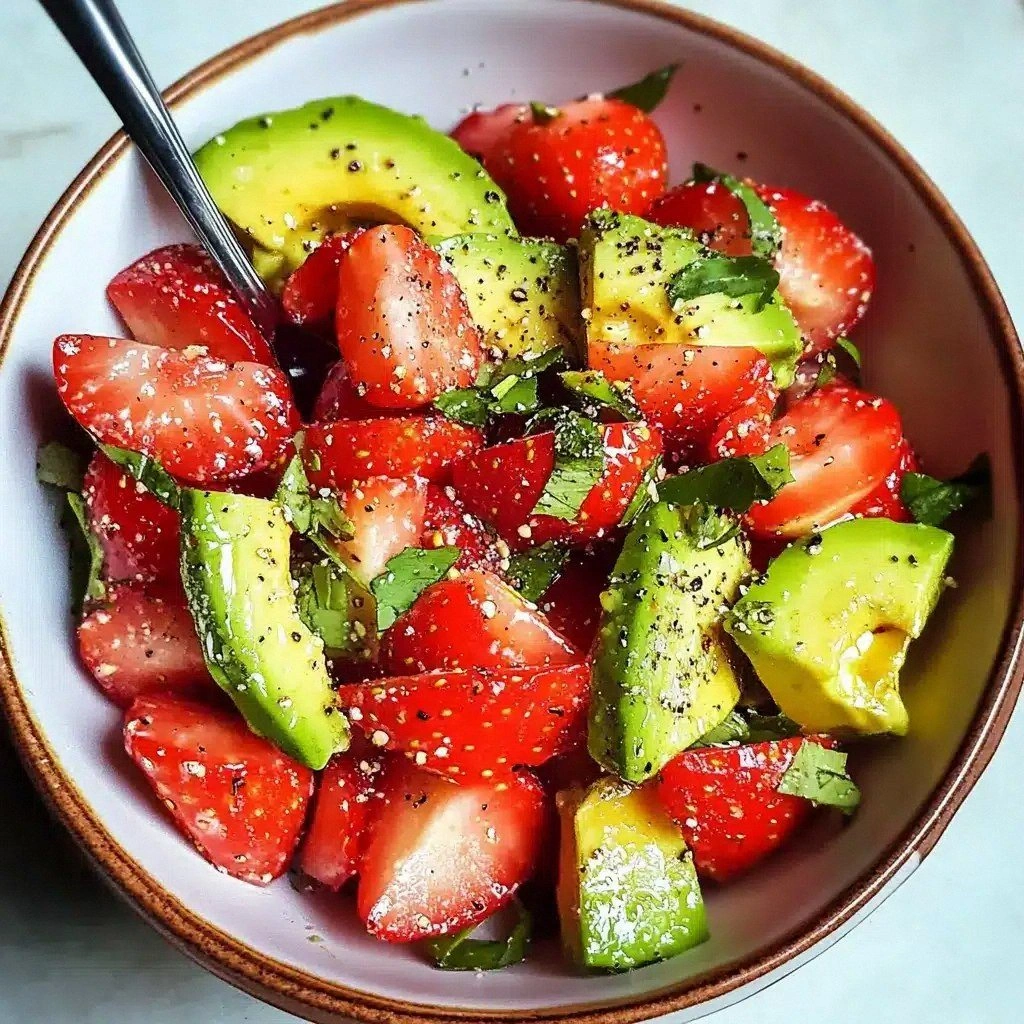
Berry Compote Accent
Serve the tarts with a spoonful of warm mixed berry compote. The tartness of the berries provides a refreshing counterpoint to the sweet custard. This pairing is especially delightful during the berry season.
Coffee Infusion
Replace the vanilla extract with a teaspoon of instant coffee powder. The coffee deepens the flavor profile and adds a subtle bitterness that pairs beautifully with the caramelized top. Great for coffee lovers and afternoon gatherings.
Storing and Bringing It Back to Life
Fridge Storage
Store cooled tarts in an airtight container in the refrigerator for up to 2 days. The pastry will soften slightly, so serve them at room temperature for the best texture. If you need to keep them longer, consider freezing.
Freezer Friendly
Wrap each tart individually in plastic wrap and place them in a freezer bag. They can be frozen for up to 3 months. Thaw in the refrigerator overnight before reheating.
Best Reheating Method
Reheat frozen or refrigerated tarts at 350°F for 5–7 minutes, or until warmed through. Add a splash of water to the bottom of the baking sheet; the steam will help restore the pastry’s crispness. Finish with a light dusting of powdered sugar for a fresh look.