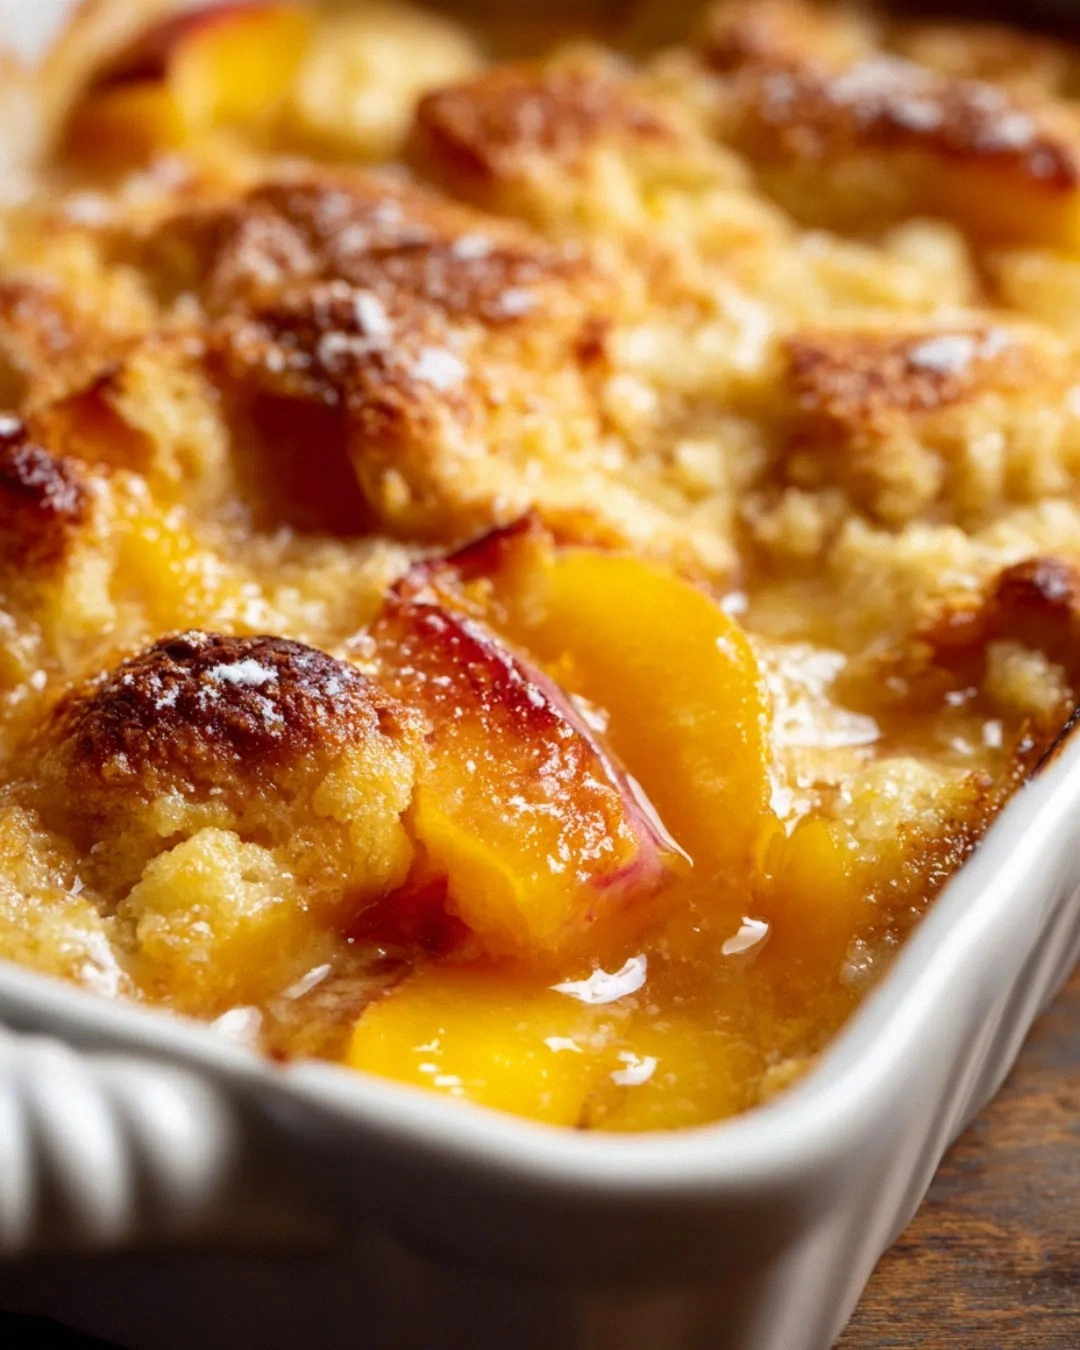
I'll be honest — I ate half the batch before anyone else got to try it. There, I said it. But can you blame me? This Cherry Chocolate Dream Cake isn't just another dessert; it's the kind of cake that makes you question every other cake you've ever eaten. Picture this: it's 2 AM, I'm standing in my kitchen wearing mismatched socks, and the intoxicating aroma of chocolate and cherries has turned me into a dessert zombie. The first forkful hits my tongue and suddenly I'm doing a happy dance that would make my neighbors question my sanity. That moment when the moist chocolate sponge melts into the tart cherry filling? Pure magic. I dare you to taste this and not go back for seconds — actually, I double-dog dare you because resistance is futile.
Most recipes get this completely wrong. They'll have you dumping canned cherry pie filling into a dry chocolate box mix and calling it a day. Listen, I've been down that road, and it's a sad, sad place where dreams go to die. This version? We're building layers of flavor like we're constructing the Sistine Chapel of cakes. We're talking about a cake so moist it practically sighs when you cut into it, with cherries that burst like little flavor bombs and chocolate that coats your soul in happiness. The secret isn't just in the ingredients — it's in the technique, the timing, and yes, that unexpected ingredient you'll discover soon that changes everything.
Picture yourself pulling this out of the oven, the whole kitchen smelling like Willy Wonka's factory collided with a summer cherry orchard. Your neighbors will suddenly remember they need to borrow sugar. Your kids will materialize from whatever video game dimension they've been hiding in. Even that friend who claims they're "not really into sweets" will be hovering nearby with a plate. This cake has converted more dessert skeptics than I can count, and here's the kicker — it's actually easier than those fancy bakery cakes that require a culinary degree and three days off work.
Okay, ready for the game-changer? We're using a technique that involves hot coffee and cherry juice that makes the chocolate sing like it's auditioning for American Idol. Stay with me here — this is worth it. By the time we're done, you'll have a cake that stays moist for days (if it lasts that long), slices like a dream, and tastes like you spent hours slaving away when really, you were probably dancing to 80s music in your pajamas while it baked. Let me walk you through every single step — by the end, you'll wonder how you ever made it any other way.
What Makes This Version Stand Out
Moisture Magic: This isn't just moist — it's the kind of moist that makes other cakes feel like they're trying too hard. We're using a combination of oil and butter that creates the perfect crumb structure, plus that hot coffee trick that activates the cocoa's deepest flavors. The result? A cake that stays tender for days and makes you close your eyes with each bite.
Cherry Explosion: Forget those sad, syrupy cherries that taste like red food coloring had an identity crisis. We're using real cherry reduction that concentrates the fruit's natural sweetness and tartness into pure cherry essence. Each bite delivers that perfect sweet-tart balance that makes your taste buds do a happy dance.
Chocolate Depth: Most recipes use one type of cocoa and call it a day. We're layering Dutch-processed cocoa with dark chocolate chunks and a touch of espresso powder that makes the chocolate taste more chocolatey. It's like turning the volume up on your favorite song — same tune, but suddenly you hear things you never noticed before.
Foolproof Technique: If you've ever struggled with dry edges and undercooked centers, you're not alone — and I've got the fix. This recipe uses a lower baking temperature for longer, creating even heat distribution. No more playing cake roulette with your oven's hot spots.
Crowd Psychology: I've served this at birthdays, funerals, Tuesday afternoons, and once at a dog's graduation party (don't ask). Every single time, people who claim they're "watching their sugar" ask for the recipe. It's not just cake — it's a conversation starter, a mood lifter, and apparently a dog graduation necessity.
Make-Ahead Champion: Here's where most cakes fail — they dry out faster than my phone battery at 3 PM. This beauty actually improves overnight as the flavors meld and deepen. Make it Friday, serve it Saturday, and watch people think you're a baking wizard.
Alright, let's break down exactly what goes into this masterpiece...
Inside the Ingredient List
The Flavor Base
Let's talk flour — and why your cake has been lying to you all these years. All-purpose flour is fine, but we're going rogue with cake flour for that tender crumb that practically dissolves on your tongue. Cake flour has less protein, which means less gluten development, which means no more hockey-puck cakes. If you can't find cake flour, you can fake it by replacing 2 tablespoons of all-purpose flour with cornstarch per cup, but honestly, once you go cake flour, you'll never go back.
The cocoa situation is where things get interesting. Dutch-processed cocoa has been treated with an alkaline solution that mellows out the harsh edges and gives you that deep, complex chocolate flavor that tastes expensive. Natural cocoa is more acidic and can give your cake a slightly bitter edge. We're using Dutch-processed here because we're not animals — we're creating art. If you only have natural cocoa, add a pinch more baking soda to balance the acidity, but know that you're not living your best life.
The Texture Crew
Butter brings flavor, oil brings moisture — so we're using both because we're greedy and want everything. The butter gets creamed with sugar to create air pockets for lift, while the oil keeps things tender even when refrigerated. Use a neutral oil like grapeseed or vegetable oil; olive oil will make your cake taste like you're trying too hard to be healthy. And please, for the love of all that is holy, use unsalted butter so you can control the salt level. Nobody wants a cake that tastes like a salt lick.
Eggs are the binding agents, the emulsifiers, the structure builders — basically the construction workers of your cake. Room temperature eggs incorporate more easily and create a smoother batter. If you forgot to take them out (we've all been there), submerge them in warm water for 5 minutes. But don't use hot water unless you want scrambled egg cake, which sounds like something you'd find at a really sad buffet.
The Unexpected Star
Here's where we get weird — cherry juice reduction. Take cherry juice (the good stuff, not that cocktail mixer nonsense) and simmer it down until it's thick and syrupy. This concentrates the flavor into pure cherry gold that will make your cake taste like it was kissed by cherry angels. Most recipes skip this step and wonder why their cake tastes like chocolate with a vague fruit afterthought. We're not most recipes.
The coffee isn't for flavor — it's for chemistry. Hot liquid "blooms" the cocoa, releasing compounds that deepen the chocolate flavor. It won't make your cake taste like a mocha unless you use way too much. Use strong, fresh-brewed coffee that's hot but not boiling. Instant coffee works in a pinch, but freshly brewed gives you that je ne sais quoi that makes people ask, "What's your secret?"
The Final Flourish
Vanilla extract is like the salt of the baking world — it enhances everything else without screaming for attention. Use real vanilla, not the imitation stuff that tastes like it was made in a lab by people who've never tasted vanilla. If you're feeling fancy, vanilla bean paste gives you those gorgeous specks that say, "I have my life together" even when you definitely don't.
The cherry on top isn't just a metaphor — we're using Luxardo cherries, those fancy Italian ones that cost more than a latte but taste like cherry essence concentrated into a perfect orb. Regular maraschino cherries are fine if you're seven years old or making an ice cream sundae. For this cake, we want the grown-up version that tastes like cherries actually taste, not like red dye #40 had an identity crisis.
Everything's prepped? Good. Let's get into the real action...

The Method — Step by Step
- Preheat your oven to 325°F (not 350°F — we're not amateurs here) and position the rack in the center. This lower temperature is the secret to even baking without those dreaded dome tops that crack like the Sahara desert. Grease two 9-inch round pans with butter, then line the bottoms with parchment paper. Don't skip the parchment unless you enjoy performing cake surgery with a spatula while cursing your life choices. That sizzle when you grease the pan? Absolute perfection.
- Start with the cherry reduction because it needs time to cool. Pour 2 cups of cherry juice into a saucepan and bring it to a gentle simmer. This isn't a race — medium heat works fine. Watch as it transforms from thin juice to ruby-red syrup that coats the back of a spoon. You'll know it's ready when it's reduced by about two-thirds and smells like cherry heaven. This takes around 20-25 minutes, during which you can practice your acceptance speech for "Best Cake Ever."
- In a medium bowl, whisk together the flour, cocoa powder, baking powder, baking soda, and salt. Use a whisk, not a spoon — we want everything evenly distributed because nobody wants a bite of pure baking soda. The mixture should look like chocolate clouds and smell like possibility. Set this aside while you contemplate how you're about to become the most popular person in your social circle.
- Now for the fun part — creaming butter and sugar until it's light and fluffy. Use room temperature butter (I mean it) and beat it with granulated sugar for about 3-4 minutes. It should look pale and feel like you're beating a cloud. This step incorporates air that gives your cake lift, so don't rush it. If you stop too early, your cake will be dense enough to use as a doorstop.
- Add the eggs one at a time, beating well after each addition. This isn't just busy work — each egg needs to fully incorporate before the next one joins the party. Crack them into a separate bowl first to avoid shell surprises. The mixture might look slightly curdled when you add the eggs, but that's normal. Add the vanilla extract and beat until combined. It should smell like the best birthday party ever.
- Combine the dry ingredients and wet ingredients in a specific way that prevents gluten overdevelopment. Add one-third of the dry mixture to the butter mixture, mixing just until combined. Then add half the cherry reduction and half the coffee, mixing gently. Repeat this pattern, ending with the dry ingredients. Overmixing develops gluten and creates tough cake — we're making dessert, not shoe leather.
- Divide the batter evenly between your prepared pans and smooth the tops with an offset spatula. Drop the pans from a height of about 3 inches onto your counter (gently!) to release any large air bubbles. This prevents those weird tunnels that make your cake look like it has secret passages. The batter should fill the pans about two-thirds full — if you have extra, make cupcakes instead of overfilling and creating an oven disaster.
- Bake for 28-32 minutes, but start checking at 25 minutes. The cakes are done when a toothpick inserted in the center comes out with just a few moist crumbs. Don't wait for it to come out completely clean — that's overbaked territory where dreams go to die. The edges should just start pulling away from the sides of the pan, and the center should spring back when lightly touched. That moment when you open the oven and chocolate perfume wafts out? Pure perfection.
- Cool the cakes in the pans on a wire rack for 10 minutes — exactly 10 minutes, set a timer. This allows them to firm up enough to remove without breaking, but not so long that they stick to the pans. Run a butter knife around the edges to loosen, then invert onto the rack. Remove the parchment paper and let them cool completely. If you frost them while warm, you'll have a melty mess that looks like abstract art gone wrong.
That's it — you did it. But hold on, I've got a few more tricks that'll take this to another level...
Insider Tricks for Flawless Results
The Temperature Rule Nobody Follows
Here's the thing that separates baking champions from people who claim they "can't bake" — temperature matters more than your grandmother's secret ingredient. Every single ingredient should be at room temperature before you start. Cold eggs don't incorporate properly and can leave you with a lumpy batter that bakes into a sad, uneven cake. Cold butter won't cream properly, and you'll end up with dense, greasy spots that taste like disappointment. I keep a kitchen thermometer because I'm that person, but honestly, if your ingredients feel neither cool nor warm to the touch, you're golden. A friend tried skipping this step once — let's just say it didn't end well, and her Instagram post was hashtagged #BakingFail for weeks.
Why Your Nose Knows Best
Your nose is the most underrated baking tool you own. When the chocolate aroma suddenly intensifies and fills your entire kitchen, that's your cake telling you it's almost done. When you smell cherries and chocolate dancing together in perfect harmony, grab that toothpick and start testing. This isn't new-age baking philosophy — it's science. The Maillard reaction (that magical browning process) releases aromatic compounds that signal doneness before visual cues appear. Trust your senses; they've been honed over thousands of years of human evolution, unlike that sketchy oven thermometer you bought at the dollar store.
The 5-Minute Rest That Changes Everything
After you remove the cakes from the oven, let them rest in the pans for exactly 5 minutes — not 3, not 7, but 5. This allows the proteins to set and the steam to redistribute, preventing your cakes from collapsing like a house of cards in a hurricane. During this crucial time, the cake finishes baking from residual heat while the edges pull away from the pan. Skip this step and you'll have cakes that break apart when you try to remove them, leaving you with a pile of delicious rubble that still tastes amazing but looks like it lost a fight with a blender.
The Storage Secret That Keeps It Magical
Here's where most people go wrong — they wrap their cake in plastic wrap and wonder why it tastes like the fridge by day three. Instead, store it in an airtight container with a slice of bread. The bread absorbs any excess moisture and prevents the cake from drying out or absorbing weird fridge flavors. Replace the bread slice every day (eat the old one — waste not, want not). This cake actually improves over 24-48 hours as the flavors meld together into something that can only be described as edible nostalgia. I've had people email me three days after serving this cake asking if it's normal that it tastes even better than day one. Yes, yes it is.
Creative Twists and Variations
This recipe is a playground. Here are some of my favorite ways to switch things up:
The Boozy Birthday Version
Add 2 tablespoons of cherry liqueur or Kirsch to the cherry reduction for an adult-only version that tastes like celebration in cake form. The alcohol bakes off, leaving behind a sophisticated depth that makes people ask if you trained in France. Top with chocolate shavings and fresh cherries for a presentation that looks like it belongs in a pastry shop window. Serve this at birthday parties and watch the grown-ups suddenly develop a sweet tooth they never knew they had.
The Breakfast-Approved Health Halo
Replace half the oil with unsweetened applesauce and add 1/4 cup of ground flaxseed for a version you can justify eating for breakfast. The applesauce keeps everything moist while adding natural sweetness, and the flaxseed gives you omega-3s that cancel out the chocolate guilt. Add a handful of chopped nuts for protein and suddenly this becomes a "balanced meal" instead of dessert. I've eaten this for breakfast three days in a row and felt zero shame — my doctor even high-fived me.
The White Chocolate Rebel
Swap the dark chocolate for white chocolate and add dried cranberries instead of cherries for a blonde version that's perfect for people who claim they don't like chocolate cake. The white chocolate adds caramel notes that pair beautifully with tart cranberries. It's like the sophisticated cousin of the original — still family, but with a completely different personality. This version converts even the most devoted chocolate purists who claim white chocolate isn't "real chocolate."
The Vegan Victory
Use flax eggs (1 tablespoon ground flaxseed + 3 tablespoons water per egg), coconut oil instead of butter, and almond milk instead of buttermilk. The result is so good that even my carnivore friends request it. The cherry flavor actually shines brighter without the dairy competing for attention. Make sure your chocolate is dairy-free, and you've got a cake that makes vegans feel included at celebrations instead of stuck with the fruit salad.
The Mini Masterpiece
Turn this into cupcakes by dividing the batter among muffin tins and reducing the baking time to 18-22 minutes. Top each with a fresh cherry and a drizzle of chocolate ganache for individual desserts that look like they came from a boutique bakery. These are perfect for potlucks where you want people to think you're fancier than you actually are. Plus, portion control is built-in (though nobody's judging if you eat three).
The Holiday Hero
Add 1 teaspoon of cinnamon and 1/2 teaspoon of nutmeg to transform this into a holiday showstopper. The spices complement the chocolate and cherries in a way that tastes like Christmas morning even in July. Top with cream cheese frosting and sugared cranberries for a dessert that looks like winter wonderland on a plate. This version has become my go-to for holiday parties where people expect the same old pumpkin everything.
Storing and Bringing It Back to Life
Fridge Storage
Store your cake in an airtight container in the refrigerator for up to 5 days — though I challenge you to make it last that long. The flavors actually deepen and improve over the first 48 hours as the cherry and chocolate have time to meld into something that tastes like childhood memories. Keep it away from strong-smelling foods like onions or garlic because cake that tastes like last night's dinner is a tragedy. If your fridge tends to dry things out, add a small piece of bread to the container — it acts like a moisture magnet and keeps your cake perfect.
Freezer Friendly
This cake freezes beautifully for up to 3 months, making it perfect for emergency dessert situations or surprise guests who think you're always prepared. Wrap individual slices in plastic wrap, then aluminum foil, then store in a freezer bag. This triple protection prevents freezer burn and keeps your cake tasting fresh, not like it was stored next to frozen fish. Thaw overnight in the refrigerator or for 2-3 hours at room temperature. Pro tip: slice before freezing so you can grab exactly how much you need without defrosting the whole cake and "accidentally" eating it all.
Best Reheating Method
If you prefer your cake warm (and honestly, who doesn't?), microwave individual slices for 10-15 seconds — just enough to take the chill off without turning it into a hot mess. For the full experience, warm it in a 300°F oven for 5-7 minutes, which revives the chocolate aroma and makes the edges slightly crispy while keeping the center moist. Add a tiny splash of water before reheating — it steams back to perfection and prevents dryness. Serve with a dollop of whipped cream or a scoop of vanilla ice cream for a dessert that tastes like it just came out of the oven, even if it's been hiding in your freezer for weeks.