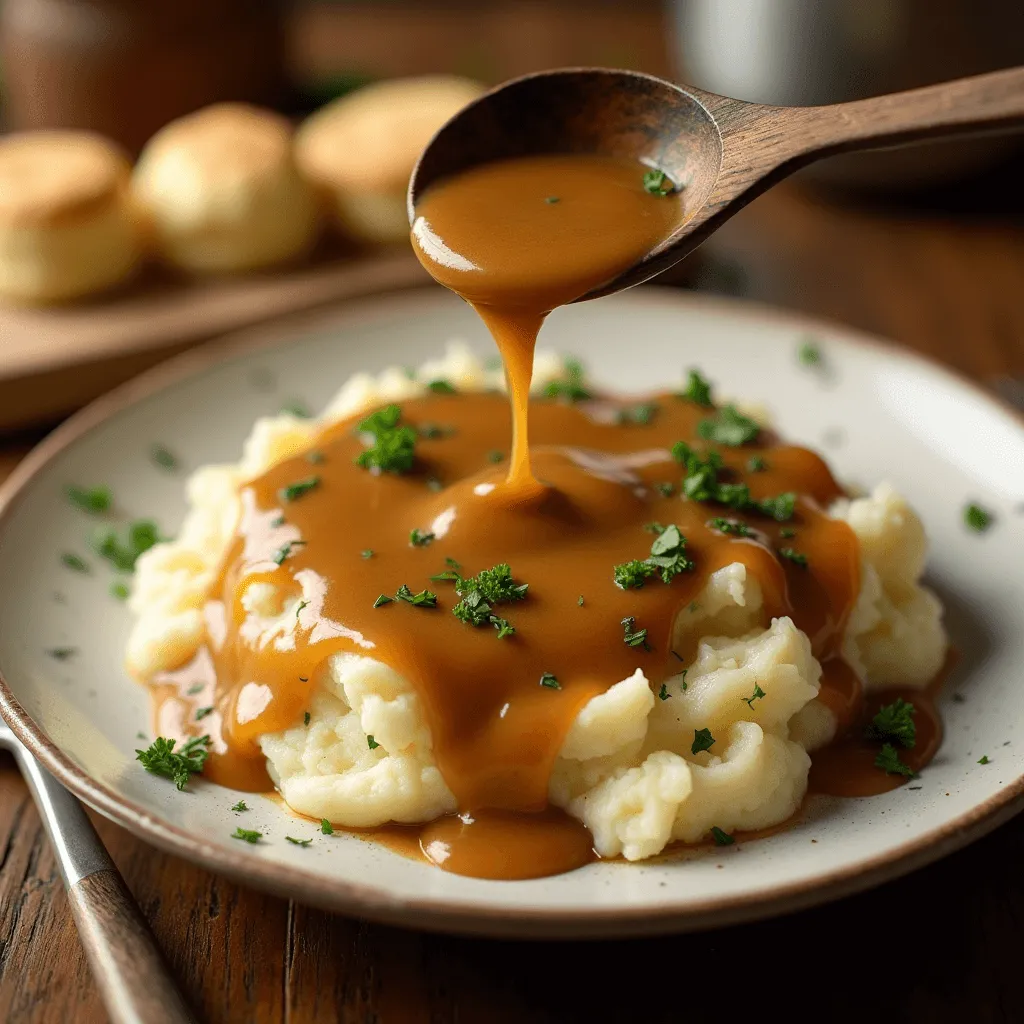
Chicken gravy is the perfect complement to a variety of meals, bringing a touch of savory warmth and richness to the table. This chicken gravy recipe is not only simple to make but also incredibly versatile, enhancing dishes like mashed potatoes, roasted chicken, or even biscuits.
While store-bought gravy might seem convenient, nothing compares to the flavor and freshness of homemade chicken gravy. By making it from scratch, you have full control over the ingredients, ensuring a healthier and tastier result. Plus, this recipe uses basic pantry staples like chicken broth and butter, so there’s no need for fancy ingredients or preservatives.
Get ready to discover just how easy it is to create a smooth, flavorful gravy that will take your meals to the next level!

Ingredients Needed for Homemade Chicken Gravy
Essential Ingredients: Chicken Broth, Butter, All-Purpose Flour, Salt, and Pepper
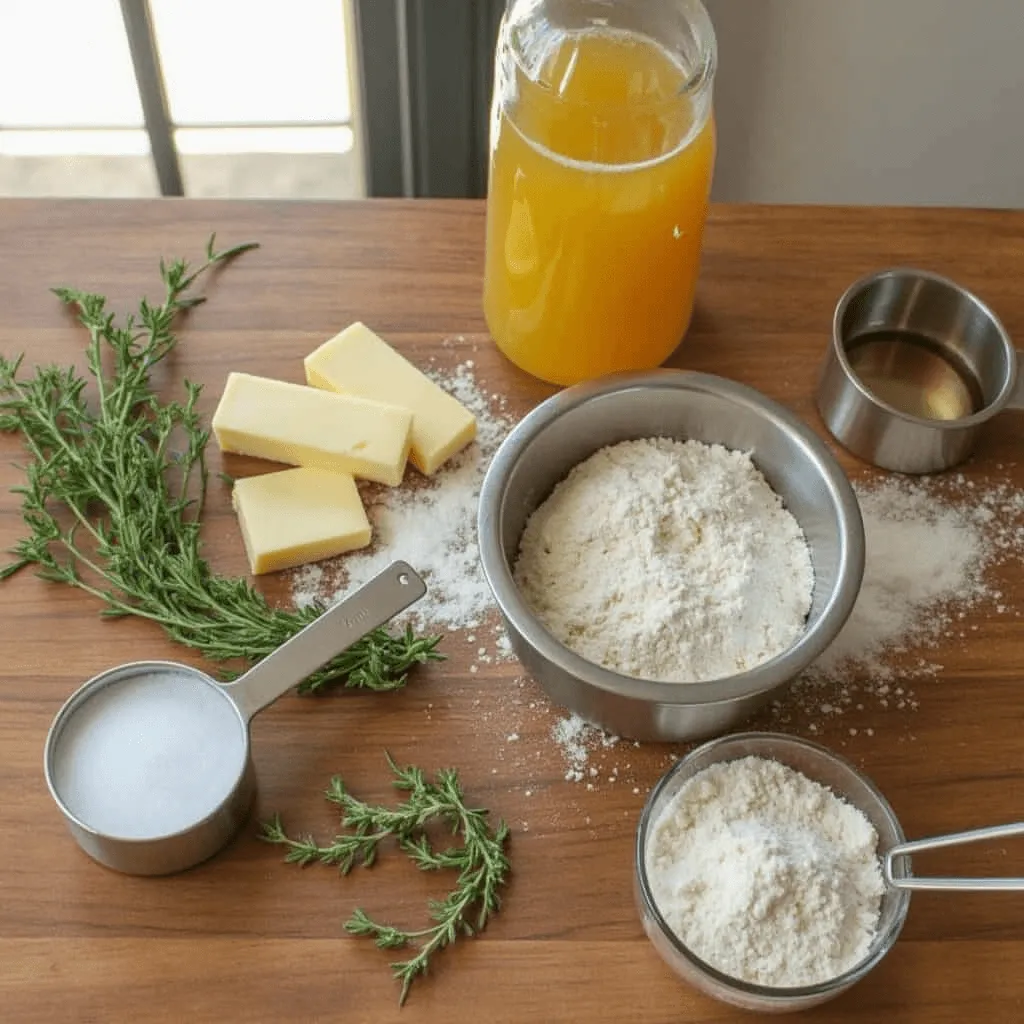
To make a classic chicken gravy recipe, you’ll need just a few basic ingredients that come together to create a smooth, flavorful sauce. The essentials include:
- Chicken broth – The base of the gravy, which gives it a rich, savory flavor.
- Butter – Adds creaminess and richness to the gravy, making it silky and smooth.
- All-purpose flour – Used to create the roux, which thickens the gravy.
- Salt and pepper – Simple but necessary seasonings that enhance the flavor of the gravy.
These ingredients are the foundation of your homemade chicken gravy, and together, they create a delicious, comforting sauce perfect for any meal.
Optional Additions for Extra Flavor: Fresh Herbs (Thyme, Parsley) or Garlic Powder
Optional Additions for Extra Flavor: Fresh Herbs (Thyme, Parsley) or Garlic Powder
While the essential ingredients provide a solid base, you can elevate your gravy’s flavor with a few optional additions:
- Fresh herbs – Add a pinch of thyme or parsley to bring out fresh, aromatic notes in the gravy. These herbs pair wonderfully with chicken and complement the richness of the butter.
- Garlic powder – If you love a little garlic flavor, adding garlic powder will infuse the gravy with a subtle yet delicious depth.
Feel free to experiment with these flavor-boosting ingredients to create a gravy that suits your personal taste.
Tips for Choosing Ingredients: Using Chicken Drippings for Richer Flavor or Alternatives Like Low-Sodium Chicken Broth
For an even richer gravy, chicken drippings (the juices left behind from roasting or frying chicken) are an excellent choice. They add a deep, savory flavor that makes your gravy stand out. If you’re cooking chicken and have drippings on hand, don’t forget to use them!
- Low-sodium chicken broth – If you’re watching your salt intake, low-sodium chicken broth is a great alternative to regular chicken broth. It allows you to control the seasoning better while still maintaining that delicious, savory flavor.
- Vegetable broth – For a lighter or vegetarian option, vegetable broth can be substituted for chicken broth, though the flavor profile will differ slightly.
These tips ensure that your chicken gravy recipe can be adjusted to your preferences while still delivering great flavor.

Step-by-Step Guide to Making Chicken Gravy from Scratch
Step 1: Prepare the Roux – Mixing Butter and Flour to Create the Base
The first step in making your chicken gravy from scratch is to create a roux, which acts as the thickening base for your gravy.
- Start by melting butter in a saucepan over medium heat. Let it melt completely but avoid browning.
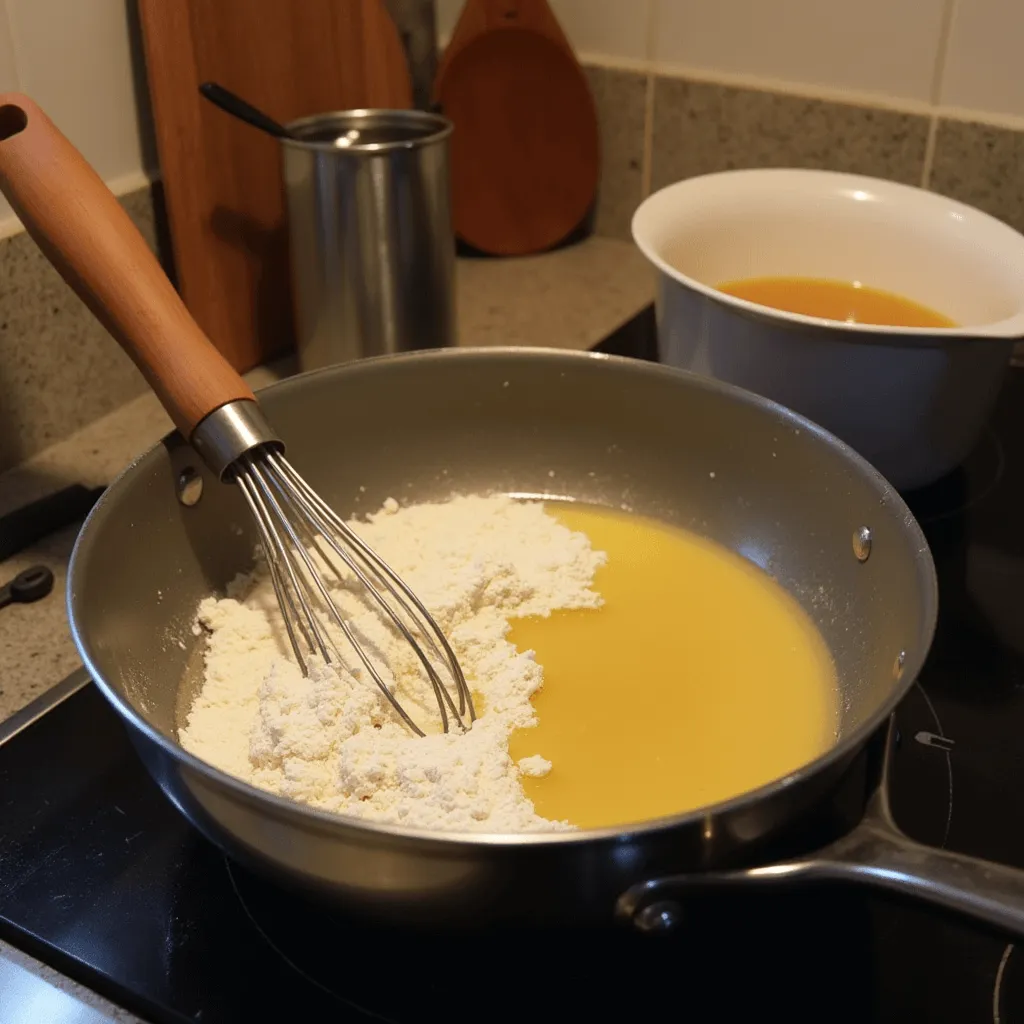
- Once the butter is melted, add all-purpose flour to the pan. Stir continuously to combine the two ingredients into a smooth paste.
- Keep stirring for about 1-2 minutes. This helps eliminate the raw flour taste and ensures the roux will thicken the gravy properly. The color of the roux should be a light golden shade, not too dark.
Step 2: Add Liquid – Slowly Whisk in Chicken Broth (or Drippings) to Avoid Lumps
Once the roux is ready, it’s time to add the liquid to form the gravy:
- Gradually pour in chicken broth (or the chicken drippings if you have them). Add the liquid slowly while whisking constantly to prevent lumps from forming.
- Whisk until the mixture is smooth, and then increase the heat slightly to bring it to a gentle simmer. As it heats up, you’ll notice the gravy starting to thicken.
- If you’re using chicken drippings, the gravy will have an even deeper flavor, so be sure to scrape up all those flavorful bits from the bottom of the pan.
Step 3: Simmer and Season – Let the Gravy Thicken and Season to Taste
Now that the gravy is coming together, it’s time to let it thicken and add those final touches:
- Lower the heat to medium-low and allow the gravy to simmer gently for about 5-10 minutes, stirring occasionally. This will allow it to thicken further and develop a rich, velvety texture.
- Taste your gravy and season with salt and pepper to your liking. If you added drippings earlier, you may not need as much salt. For extra flavor, you can also add a pinch of herbs or garlic powder.
- If the gravy becomes too thick, simply add a little more broth or water to achieve your desired consistency.
Once your chicken gravy reaches the perfect consistency and flavor, it’s ready to serve!

Variations of Chicken Gravy Recipe You Can Try for Different Flavors
Chicken Gravy Without Drippings – How to Make Gravy Using Chicken Broth as the Base
If you don’t have chicken drippings, don’t worry! You can still create a flavorful chicken gravy using chicken stock as the base.
- Simply replace the drippings with store-bought or homemade chicken broth. You’ll follow the same steps for creating the roux and adding liquid.
- For extra flavor, consider adding a splash of chicken bouillon or some fresh herbs to mimic the richness of drippings.
Southern-Style Chicken Gravy – Adding Milk or Cream for a Richer, Creamier Texture
Take your chicken gravy to the next level with a Southern-style gravy. This variation includes cream or milk to create a silky, smooth texture that pairs beautifully with fried or roasted chicken.
- After the gravy has thickened, stir in a small amount of heavy cream or whole milk for a creamy consistency.
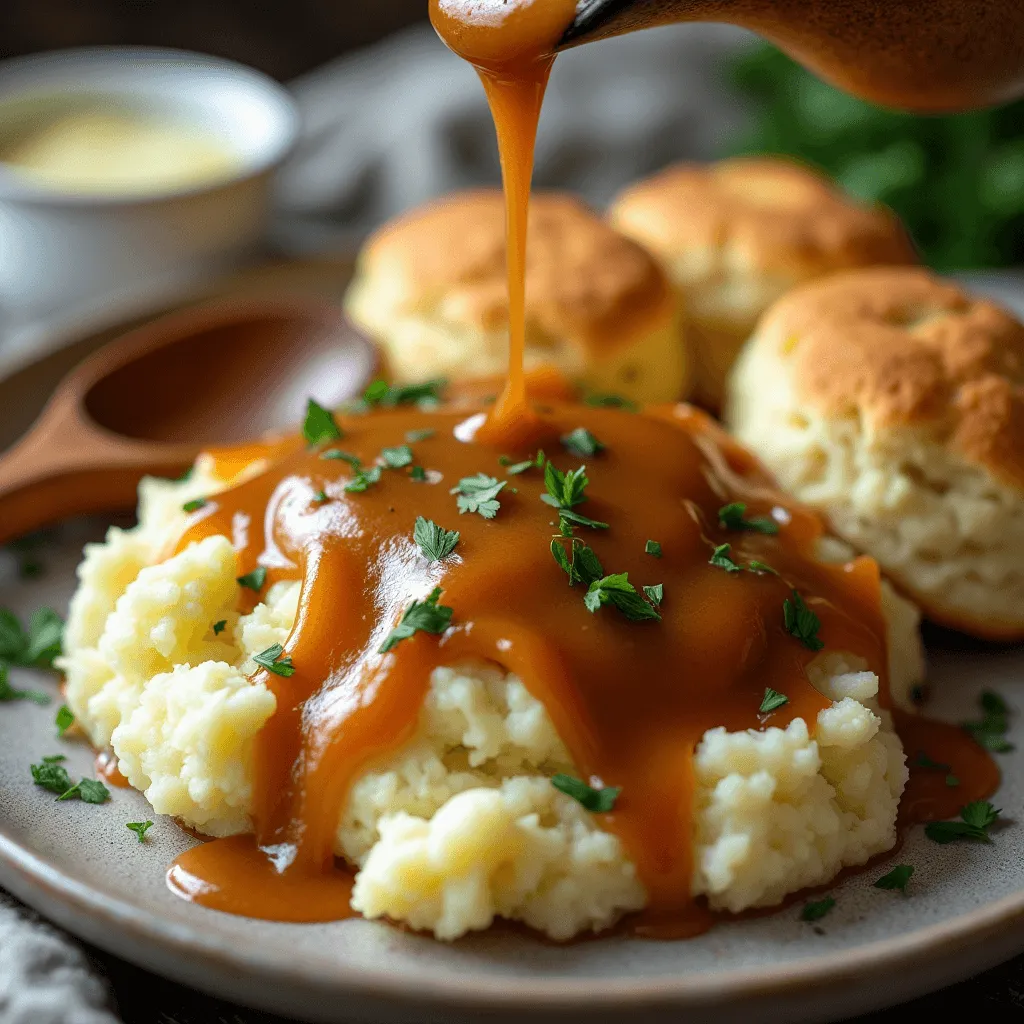
- This creamy gravy works wonderfully with biscuits, mashed potatoes, or fried chicken, providing a richer and more indulgent experience.
Low-Fat Chicken Gravy – Healthier Gravy Using Olive Oil and Cornstarch Instead of Flour
For a lighter version of your chicken gravy, try this low-fat chicken gravy recipe:
- Instead of butter, use olive oil for a healthier fat option that still offers a rich flavor.
- Replace the flour with cornstarch to thicken the gravy without adding extra calories or fat. This will give you a smoother, slightly thinner gravy that’s still packed with flavor.
- Season with fresh herbs and adjust the salt to taste for a delicious, guilt-free gravy option.
Tips for Serving and Storing Chicken Gravy
Best Pairings – Perfect Dishes to Serve with Chicken Gravy
The beauty of chicken gravy is its versatility in pairing with various dishes. Here are some of the best options:
- Mashed potatoes – A classic pairing, with the creamy, savory gravy complementing the smooth potatoes perfectly.
- Roasted chicken – Enhance the flavor of roasted chicken by drizzling it with your homemade gravy.
- Biscuits – Serve your chicken gravy over warm, flaky biscuits for a hearty, comforting meal.
These pairings are just a few ideas, but feel free to get creative and serve your gravy with other favorites like rice, vegetables, or stuffing!
Storage Tips – How to Refrigerate and Reheat Gravy Without Losing Texture
Chicken gravy can be stored for later use, but it’s important to do so correctly to maintain its smooth texture:
- Refrigerating – Let your gravy cool down to room temperature before transferring it to an airtight container. Keep it refrigerated for up to 3 days.
- Reheating – When reheating, use low heat and stir frequently to prevent the gravy from separating. If the texture becomes too thick, add a splash of chicken broth or water to achieve the desired consistency.
- Avoid high heat when reheating, as this may cause the gravy to curdle or lose its velvety texture.
Freezing Chicken Gravy – Easy Steps for Freezing and Thawing Homemade Gravy
You can freeze chicken gravy if you want to save some for future meals:
- Freezing – Once your gravy has cooled completely, transfer it into a freezer-safe container or zip-top bag. Leave some room for expansion, as gravy may thicken and expand as it freezes.
- Thawing – To thaw, place the frozen gravy in the refrigerator overnight or use a microwave for quick defrosting.
- Reheating – Reheat the gravy slowly on the stovetop, adding a bit of chicken broth if needed to restore the consistency. Be sure to stir often to ensure it stays smooth.
By following these tips, you can enjoy your delicious homemade chicken gravy at any time, whether fresh, refrigerated, or frozen!
For more tips on freezing and defrosting gravy, check out this helpful ultimate guide on freezing gravy.

Common Mistakes to Avoid When Making Chicken Gravy
Lumpy Gravy – How to Whisk Properly for a Smooth Consistency
One of the most common mistakes when making chicken gravy is ending up with lumps. To avoid this:
- When adding the chicken broth (or drippings) to your roux, do it slowly and whisk constantly.
- Ensure that the broth is at room temperature or slightly warmed to prevent shocking the roux, which can cause clumps.
- For the smoothest gravy, use a whisk instead of a spoon to ensure even mixing, especially when adding liquid. If lumps do form, use a blender or immersion blender to smooth them out.
Check out this helpful guide on common gravy mistakes from an international expert.
Over or Under Seasoning – Tips for Balancing Flavors
Getting the seasoning right is essential for the perfect chicken gravy recipe. Here’s how to avoid over or under seasoning:
- Taste your gravy as it cooks, and adjust the salt and pepper as needed. Remember that chicken broth can sometimes already contain salt, so be cautious when adding extra salt.
- For an extra flavor boost, consider adding a pinch of herbs or a dash of garlic powder, but don’t go overboard. Start with small amounts and build the flavor slowly.
- If your gravy is too salty, try adding a little water or more broth to dilute the seasoning. If the flavor is too mild, adjust with a bit more salt or pepper.. Balance is key!
Burning the Roux – How to Avoid High Heat During the Initial Step
Burning the roux is a common mistake that can ruin your gravy’s flavor. To prevent this:
- Always cook the roux over medium heat, not high.
- Stir the butter and flour mixture constantly for 1-2 minutes until it forms a golden paste.
- Be patient – rushing this step by cranking up the heat will burn the flour, giving your gravy a bitter taste and ruining the smooth texture.
By avoiding these common mistakes, you’ll ensure that your chicken gravy turns out perfectly every time!
“Looking for more chicken dish ideas? Try our delicious chicken recipe for another flavorful meal!”
Chef’s Note:
Making chicken gravy from scratch is easier than you might think and brings out the best flavors in your meals. With just a few simple ingredients like chicken broth, butter, and flour, you can create a rich and flavorful gravy that enhances everything from mashed potatoes to roasted chicken. Whether you’re new to gravy-making or a seasoned cook, this recipe will surely become a staple in your kitchen.
Give it a try today! We’d love to hear how your chicken gravy turned out. Drop a comment below to share your experience, ask questions, or even give us your own twist on the recipe. If you enjoyed this recipe, check out our other delicious gravy options or explore more side dishes like creamy mashed potatoes to complete your meal.
Happy cooking, and enjoy your homemade gravy!

5 thoughts on “Simple Chicken Gravy Recipe: Made from Scratch in Steps”