I dare you to taste this and not go back for seconds. That’s the kind of confidence I have in this recipe. I’ll be honest—half of the batch vanished before anyone else even had a chance to try it. Most recipes get this completely wrong by over‑cooking or under‑mixing, but here’s what actually works: a gentle heat that allows the oats to soften, the nut butter to coat, and the marshmallows to melt without turning into a gooey mess. Picture yourself pulling this out of the fridge, the whole kitchen smelling incredible, and the moment when you break one open, the marshmallow gooeyness is like a sweet, caramelized cloud. Stay with me here—this is worth it.
What Makes This Version Stand Out
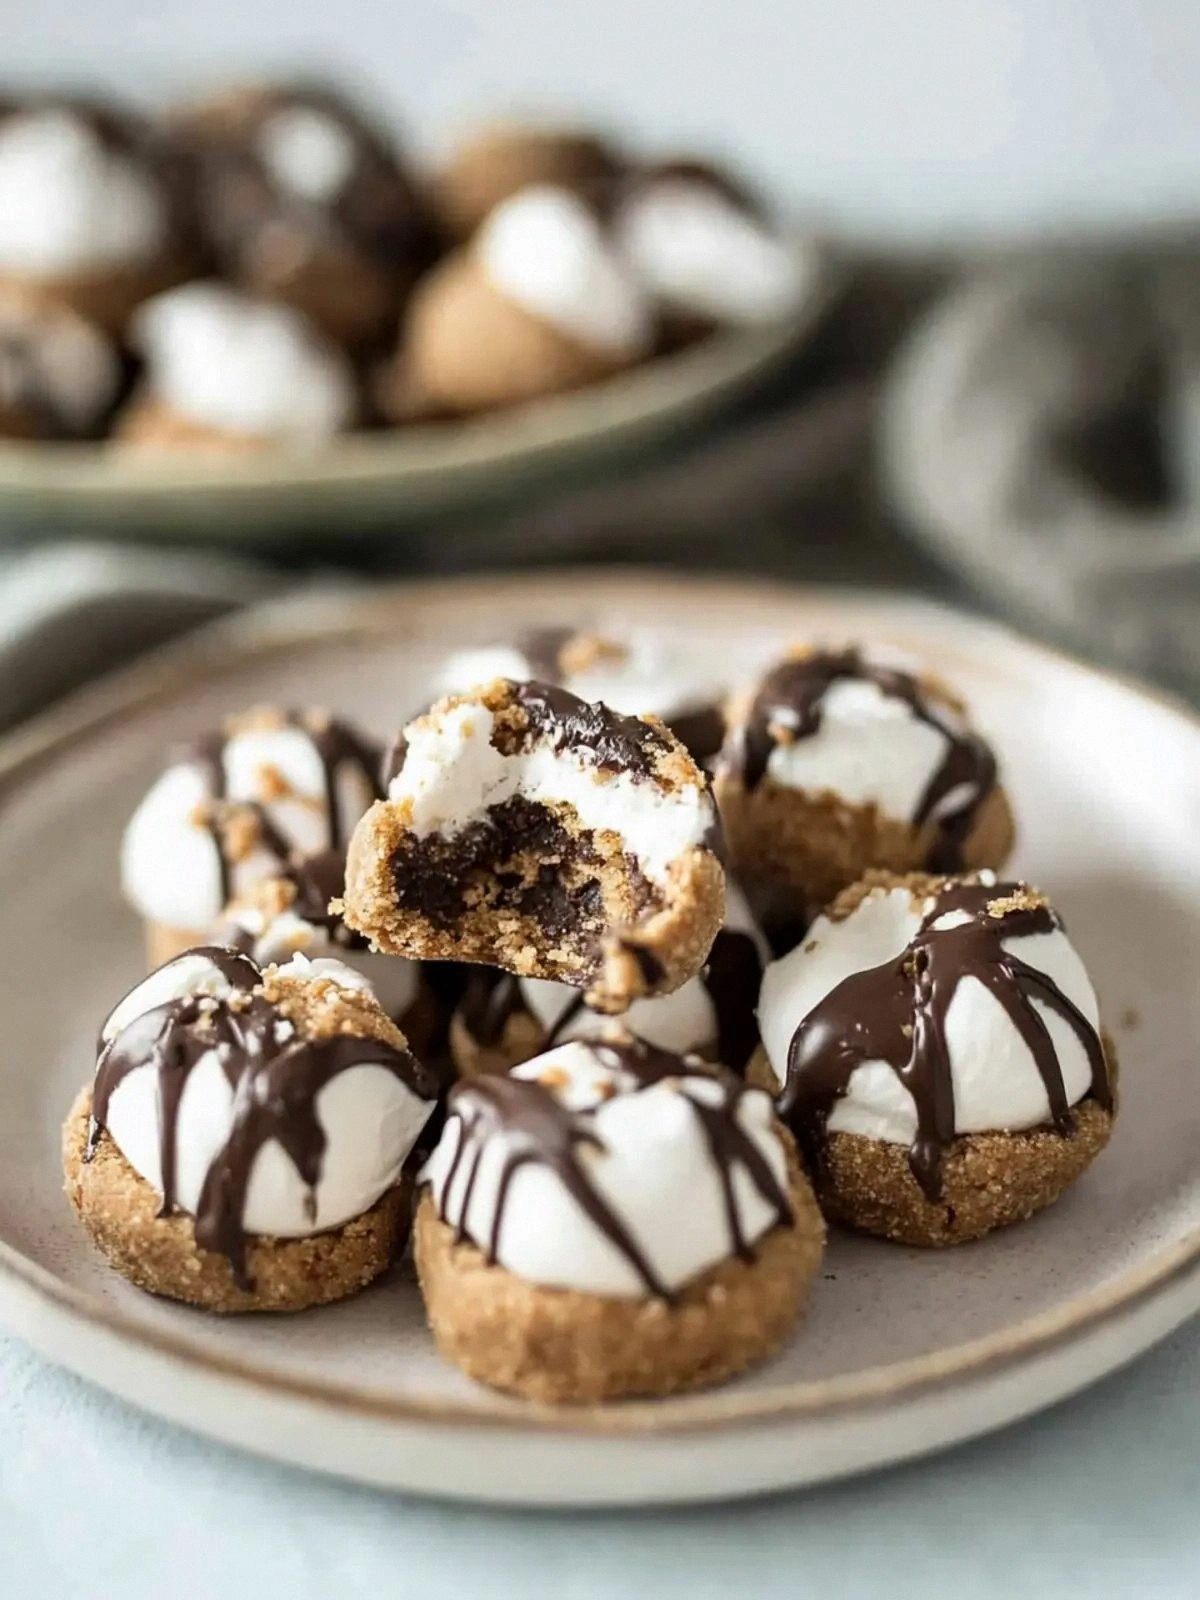
- Texture: The oats soften just enough to give a chewy bite, while the marshmallows add a satisfying snap that shatters like thin ice when you bite into it. Every chew is a layered experience that keeps you coming back for more.
- Flavor: The nut butter grounds the sweetness, preventing the honey from becoming overpowering, and the chocolate chips provide a rich, bittersweet counterpoint that balances the dessert perfectly.
- Convenience: No oven, no baking, no waiting—just mix, chill, and serve. Ideal for a last‑minute snack or a quick dessert after a long day.
- Make‑ahead Friendly: Chill for up to 48 hours and the texture remains just as delightful. It’s the ultimate make‑ahead treat that doesn’t lose its charm.
- All‑natural Ingredients: We use whole oats, pure nut butter, and real honey, so you’re not adding any artificial flavors or preservatives.
- Kid‑Friendly: The no‑bake process means no hot pans or open flames—safe for little hands to help out.
- Versatility: Swap in different nut butters or add a pinch of sea salt to elevate the flavor profile to your liking.
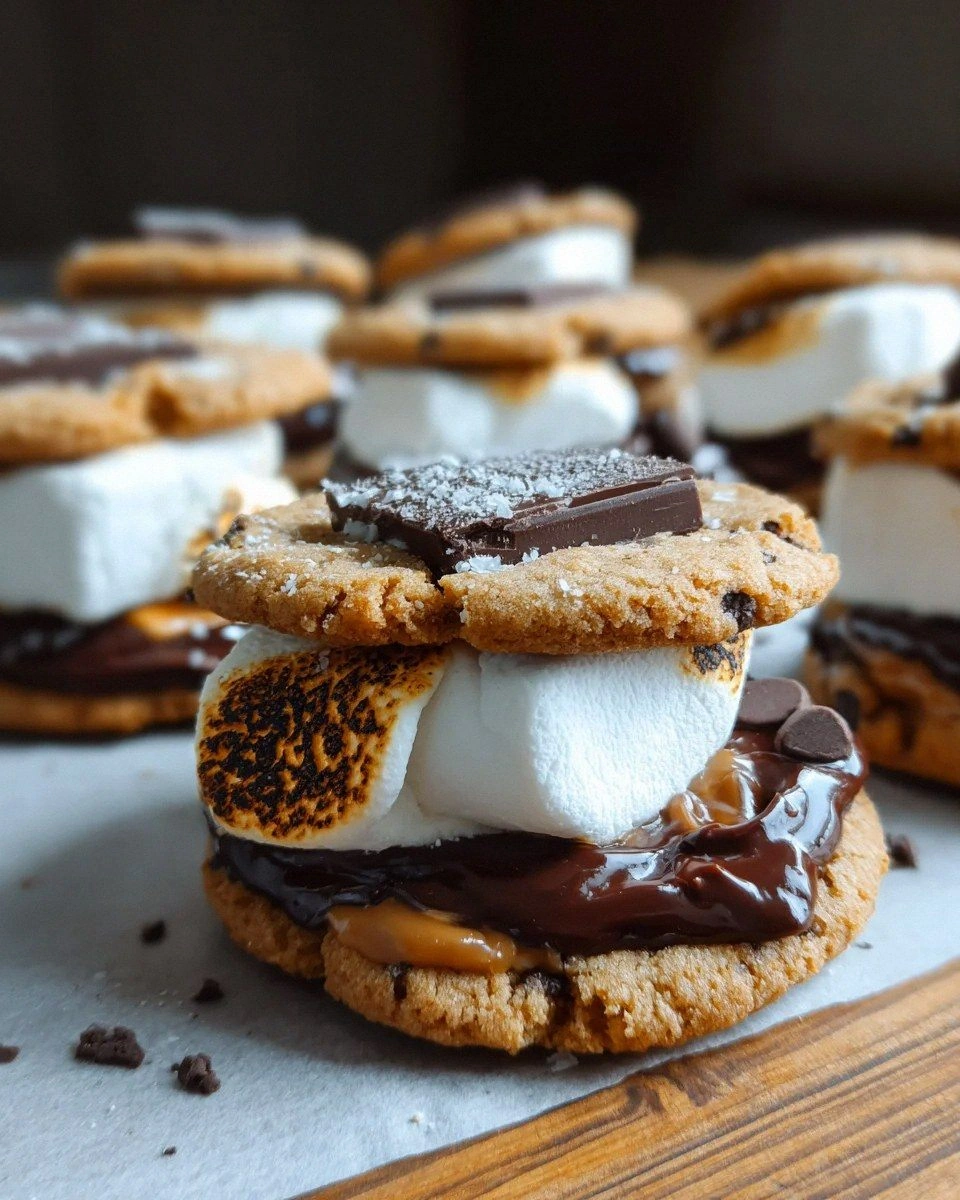
- Visual Appeal: The golden-brown oat base with chocolate chips and marshmallows gives a mouth‑watering look that’s Instagram‑ready.
Alright, let’s break down exactly what goes into this masterpiece.
Inside the Ingredient List
The Flavor Base
Oats: Oats serve as the backbone, giving structure and a subtle nutty flavor. They absorb the honey and nut butter, turning into a silky mixture that holds the other ingredients together. Skipping oats would leave the dough too loose, and the cookies would fall apart when you try to bite them.
The Texture Crew
Nut Butter: The nut butter (almond, peanut, or cashew) coats each oat grain, creating a creamy mouthfeel that’s both rich and smooth. If you prefer a lighter version, use a thin nut butter or a plant‑based alternative; just make sure it’s not too watery, or the dough will become runny.
The Sweetener
Honey or Maple Syrup: The honey (or maple syrup) adds natural sweetness and helps bind everything together. It also contributes to the glossy sheen that makes the dough look irresistible. If you’re allergic to honey, a drizzle of agave nectar works as a suitable substitute.
The Unexpected Star
Chocolate Chips: Chocolate chips are the star that brings that classic s'mores flavor. They melt slightly during the mixing process, creating pockets of chocolatey goodness that burst in your mouth. For a richer experience, choose dark chocolate chips.
The Final Flourish
Mini Marshmallows: The marshmallows add that iconic gooeyness. They’re small enough to be evenly distributed, so each bite has a perfect balance of crunch and melt. If you can’t find mini marshmallows, regular ones will do, but they’ll be a bit chunkier.
Everything’s prepped? Good. Let’s get into the real action.
The Method — Step by Step
- Start by placing the oats in a medium bowl. Pour the nut butter over the oats and stir until every grain is coated. This step is crucial; a uniform coating ensures the dough holds together. I like to use a wooden spoon for that extra rustic feel.
- Add the honey (or maple syrup) to the oat and nut butter mixture. Mix until the mixture is glossy and starts to clump together. The mixture should have a slightly sticky texture—if it’s too dry, add a splash more honey; if it’s too wet, add a pinch more oats. The right consistency is the secret to that perfect bite.
- Fold in the chocolate chips, making sure they’re evenly distributed. The chips should be partially melted into the dough, creating pockets of chocolate that will bloom when you bite into the cookie. Don’t over‑mix; a gentle fold keeps the chips from breaking apart.
- Toss in the mini marshmallows. The marshmallows will begin to melt slightly, creating that iconic gooey center. Be careful not to over‑mix; you want the marshmallows to stay in small clusters, not dissolve entirely.
- Line a baking sheet with parchment paper. Scoop the dough into small, bite‑sized balls and place them on the sheet. Press them lightly to flatten; the shape will help them set evenly. If you’re making a large batch, keep the dough chilled until you’re ready to shape to prevent sticking.
- Refrigerate the shaped cookies for at least 20 minutes, or until firm. The chilling process sets the dough, giving it a firm yet chewy bite that’s easy to bite into. While the cookies chill, the flavors meld together, creating a harmonious taste profile.
- Once chilled, transfer the cookies to an airtight container. Store them in the fridge for up to 48 hours or freeze for longer storage. When you’re ready to serve, let them sit at room temperature for 5 minutes to soften slightly; this brings out the full flavor.
That’s it—you did it. But hold on, I’ve got a few more tricks that’ll take this to another level.
Insider Tricks for Flawless Results
The Temperature Rule Nobody Follows
The dough’s temperature is everything. If it’s too hot, the marshmallows will melt completely; if it’s too cold, the oats won’t bind. I always let the mixture sit at room temperature for 10 minutes before adding the chocolate chips. This small pause ensures the texture is just right, preventing the dough from becoming either too sticky or too crumbly.
Why Your Nose Knows Best
Smell is a powerful cue. When the mixture starts to emit a warm, toasted aroma, you know it’s ready for the next step. If you’re still waiting for that scent, give it a few more minutes. Your nose will tell you when the oats have softened enough to bind with the butter and honey.
The 5‑Minute Rest That Changes Everything
After you’ve shaped the cookies, let them rest on the parchment for 5 minutes before refrigerating. This short rest allows the dough to set slightly, which prevents it from sticking to the parchment and makes the final shape cleaner.
The Secret to a Smooth Finish
If you prefer a smoother cookie, sift the oats before mixing. This removes any clumps and ensures the dough has a silky texture that’s easier to scoop. It also gives a more uniform appearance.
The Quick Chill Trick
For a faster set, place the shaped cookies in the freezer for 10 minutes instead of refrigerating. The quick chill locks in the texture without over‑hardening the marshmallows.
The Final Touch: A Pinch of Sea Salt
Adding a pinch of sea salt after the dough is formed brings out the sweetness and balances the flavor profile. It’s a small change that makes the cookies feel more sophisticated and less cloying.
Creative Twists and Variations
This recipe is a playground. Here are some of my favorite ways to switch things up:
Nutty Surprise
Swap the almond butter for hazelnut or peanut butter and add a sprinkle of crushed pistachios for an extra crunch. The nutty flavor pairs beautifully with the chocolate and marshmallows.
Citrus Kick
Add a teaspoon of orange zest to the dough for a bright, zesty note that cuts through the sweetness. The citrus also adds a subtle aroma reminiscent of summer.
Spiced Edition
Stir in a pinch of cinnamon or a dash of nutmeg before chilling. The warm spices create a cozy, comforting flavor profile that’s perfect for fall evenings.
Chocolate Lover’s Dream
Use dark chocolate chips and replace the honey with a splash of espresso for a mocha twist. The bitterness of the espresso balances the sweetness, giving a sophisticated finish.
Berry Boost
Fold in a handful of dried cranberries or blueberries after the marshmallows for a burst of fruity tartness. The berries add color and a delightful contrast to the sweet base.
Gluten‑Free Option
Use gluten‑free rolled oats and ensure your chocolate chips are certified gluten‑free. The texture remains the same, and the flavor stays delicious.
Storing and Bringing It Back to Life
Fridge Storage
Store the cookies in an airtight container in the refrigerator for up to 48 hours. The cool temperature keeps the marshmallows firm but still pliable. When you’re ready to eat, let them sit at room temperature for 5 minutes to soften slightly.
Freezer Friendly
For longer storage, place the cookies on a parchment‑lined tray and freeze for up to 3 months. Once frozen, transfer them to a freezer bag. Thaw in the fridge overnight or at room temperature for 20 minutes before serving.
Best Reheating Method
If you want to revive the gooey center, place the cookies on a microwave‑safe plate and heat on low for 10‑15 seconds. Add a tiny splash of water before reheating to create steam, which brings back the marshmallow’s melt‑away texture.