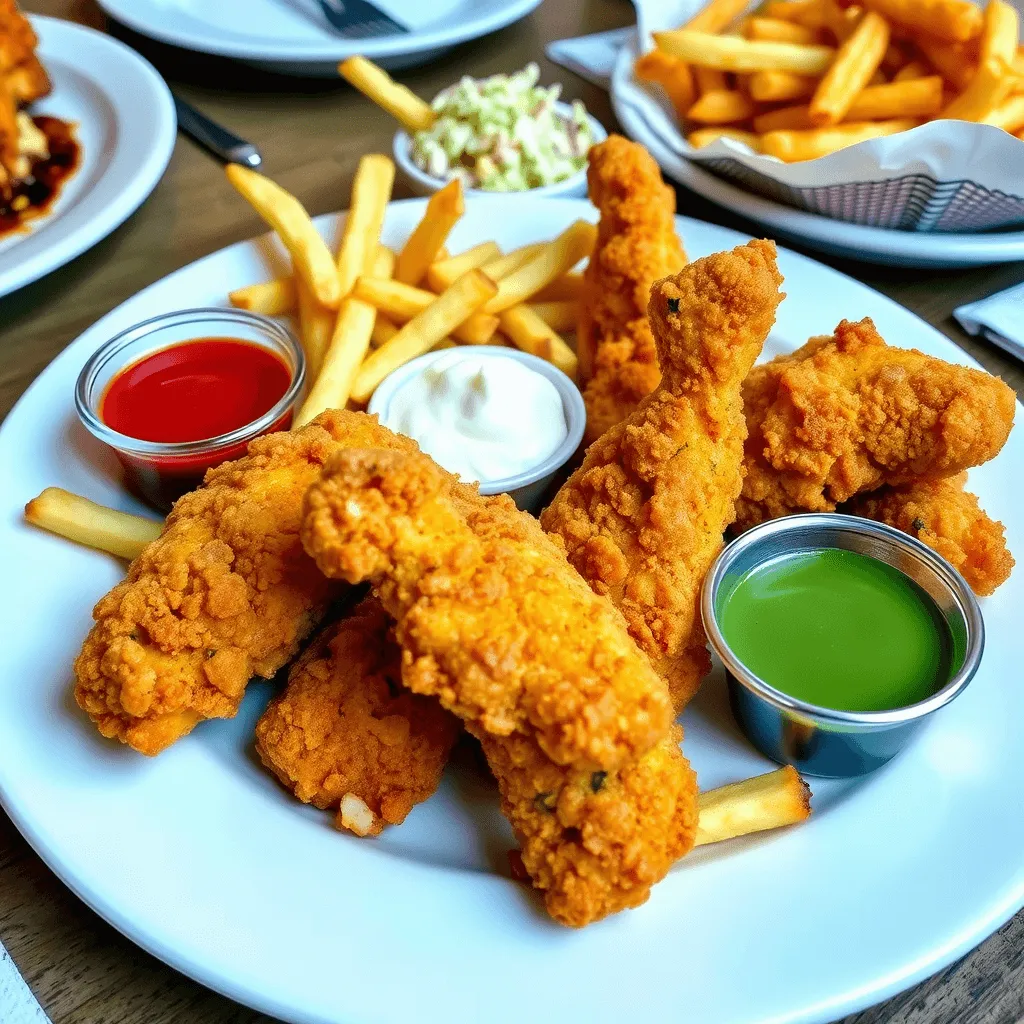
A chicken tenders recipe is one of the most beloved and versatile dishes, perfect for any occasion. Whether you’re preparing a quick weeknight meal, hosting a gathering, or craving a comfort food classic, homemade chicken tenders never disappoint. Crispy on the outside, juicy on the inside, and fully customizable, they’re a hit for both kids and adults alike.
Making chicken tenders at home offers several benefits. It’s healthier than the store-bought or fast-food versions, allowing you to control the ingredients and avoid excess oil and preservatives. Plus, you can tailor the flavor to your preferences—whether you like them spicy, tangy, or classic. And best of all, preparing homemade tenders is far more cost-effective than ordering out.
In this recipe, we’ll show you how to make the crispiest, most delicious chicken tenders that will impress your family and friends every time. Follow our simple steps for a homemade chicken tenders recipe that guarantees a crispy, golden coating and juicy, tender chicken inside.

Ingredients for the Perfect Chicken Tenders
Making chicken tenders at home starts with the right ingredients. Using high-quality, fresh ingredients is essential for creating a dish that’s both flavorful and crispy. Here’s what you’ll need:
Essential Ingredients
- Chicken Breast: The star of your chicken tenders recipe! Choose boneless, skinless chicken breasts for tender, juicy strips. You can also use chicken thighs for a richer taste.
- Flour: All-purpose flour helps create a light, crisp coating when combined with seasoning.
- Panko Breadcrumbs: Panko breadcrumbs are key to achieving the perfect crispy texture. They are light and airy, which creates a golden, crunchy coating that holds up well during frying or baking.
- Buttermilk: Marinating the chicken in buttermilk ensures the tenders stay juicy and tender. The acidity of the buttermilk helps break down the proteins in the chicken, resulting in a tender bite every time.
- Seasoning: Salt, pepper, garlic powder, and paprika are the basics, but feel free to experiment with other spices like cayenne or onion powder for a bolder flavor. A pinch of dried herbs can also add depth to the taste.

Optional Add-ons and Variations
Want to spice things up or cater to specific dietary preferences? Here are a few options:
- Spicy Kick: Add cayenne pepper or chili powder to the breading for a spicy version of this chicken tenders recipe.
- Gluten-Free: Substitute panko breadcrumbs and flour with gluten-free alternatives, such as rice flour and gluten-free breadcrumbs, to make the recipe suitable for those with dietary restrictions. ” Learn about gluten-free cooking tips here“
Choosing the Best Dipping Sauces
A perfect chicken tenders recipe isn’t complete without the right dipping sauces. Here are some classic options:
- Ranch: A creamy, cool dip that pairs well with the crispy tenders.
- Honey Mustard: Sweet and tangy, honey mustard is a popular choice for a well-balanced flavor.
- Barbecue Sauce: For a smoky, tangy twist, barbecue sauce is a great option, especially with a touch of heat if you prefer a spicy kick.
With these ingredients, you’ll have everything you need to make the crispiest, juiciest chicken tenders at home, with endless possibilities for customization based on your preferences!
Looking for more dipping sauce ideas? Check out this list of the best dipping sauces from your favorite fast food chains for some tasty inspiration!
Step-by-Step Guide to Making Crispy Chicken Tenders at Home
Preparing the Chicken and Marinating for Flavor
Start by cutting your chicken breast into strips or tenders. Aim for uniform pieces to ensure even cooking. Place the chicken in a bowl and pour in enough buttermilk to fully coat the pieces. Add your spices—salt, pepper, garlic powder, and paprika—to infuse the chicken with flavor. Allow it to marinate for at least 30 minutes, or longer if possible, for maximum tenderness. Marinating in buttermilk not only enhances the flavor but also keeps the chicken juicy during cooking.
Coating Chicken Tenders for the Crispiest Breading
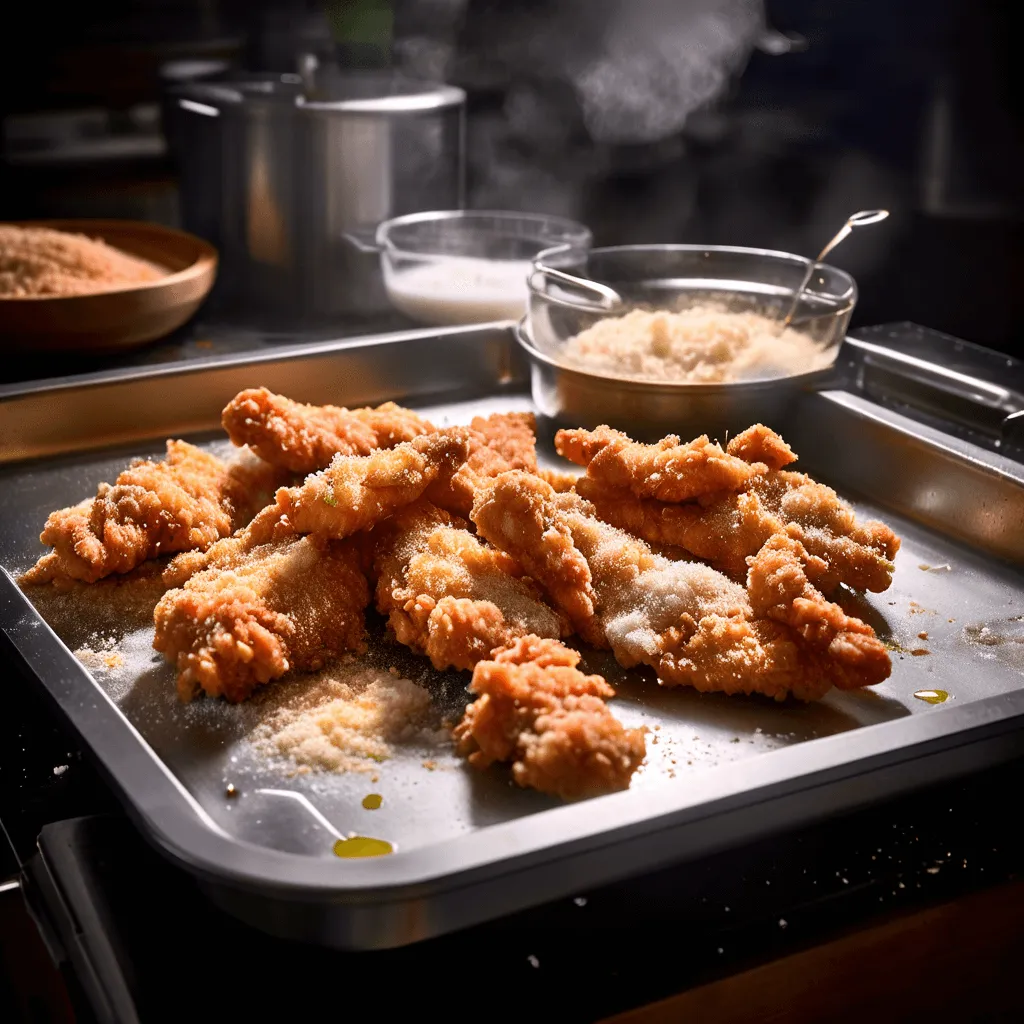
The breading process is key to achieving that perfect crispy texture. First, dredge each piece of marinated chicken in all-purpose flour, shaking off any excess. Then, dip it into a beaten egg wash, making sure the chicken is completely coated. Finally, roll the chicken in panko breadcrumbs, pressing down gently to ensure a thick, even coating. This step creates the signature crispiness and golden-brown texture. For extra crunch, repeat the process for a double coating!
Choosing the Best Cooking Method for Crispy Chicken Tenders
There are several ways to cook your chicken tenders, each yielding deliciously crispy results:
- Frying in Oil: Frying the tenders in hot oil (around 375°F) is the traditional method for achieving crispy chicken tenders with a golden-brown finish. The oil locks in moisture while creating a crunchy outer layer.
- Baking in the Oven: For a healthier alternative, bake your breaded tenders at 400°F for about 20 minutes. Flip halfway through for an evenly crisp texture.
- Air Frying for Healthier Crispy Chicken Tenders: If you’re looking to cut down on oil, the air fryer is your best friend. Simply spray the tenders with a light coating of cooking spray and air fry them at 375°F for 12-15 minutes. The result is perfectly crispy tenders with minimal oil!

Tips and Tricks for Crispy and Delicious Chicken Tenders
The Secret to a Crispy Chicken Tenders Coating
To achieve the ultimate crispy coating, the choice of breadcrumbs is crucial. Panko breadcrumbs are key because they are light and airy, which gives the chicken tenders their signature crunch. For an even crispier result, consider double coating the tenders—first dipping them in flour, then in egg wash, followed by panko breadcrumbs. This extra layer of breadcrumbs ensures a thicker, crunchier crust that will stay crispy longer.
Avoiding Common Mistakes for Perfectly Crispy Tenders
Even the best chicken tenders recipe can go wrong if common mistakes aren’t avoided. Here are some tips to ensure your tenders come out crispy and golden:
- Soggy Breading: Avoid this by making sure each piece of chicken is fully coated with flour, egg wash, and breadcrumbs. Also, avoid overcrowding the pan while frying—this can cause the breading to get soggy.
- Uneven Cooking: To ensure even cooking, slice your chicken pieces to a uniform thickness. If baking or air frying, flip the tenders halfway through the cooking process.
- Overcooking: Overcooking can dry out the chicken. Always keep an eye on the cooking time, and use a meat thermometer to check that the internal temperature reaches 165°F for perfectly cooked chicken.
Storing and Reheating Chicken Tenders for Crispy Results
If you have leftover chicken tenders, proper storage and reheating methods are key to maintaining that crispy texture:
- Storing Leftovers: Allow the chicken tenders to cool to room temperature before storing them in an airtight container. Keep them in the fridge for up to 3-4 days.
- Reheating for Crispiness: The best way to reheat chicken tenders and keep them crispy is by using the oven or air fryer. Preheat your oven to 375°F and bake the tenders for about 10 minutes. For the air fryer, set it to 375°F and heat the tenders for 3-4 minutes. Avoid microwaving, as it can make the breading soggy.
Frequently Asked Questions About Chicken Tenders
Can I Make Chicken Tenders Gluten-Free?
Absolutely! You can easily adapt this chicken tenders recipe for a gluten-free diet. Instead of traditional all-purpose flour, use gluten-free flour blends made from almond, rice, or oat flour. For the crispy coating, substitute panko breadcrumbs with gluten-free breadcrumbs, available at most grocery stores. These alternatives will give you the same crunchy texture without compromising on flavor or crispiness.
How Long Do Chicken Tenders Take to Cook?
Cooking times for chicken tenders vary depending on the method:
- Frying: In hot oil at 375°F, chicken tenders typically take 4-6 minutes per side until golden brown and cooked through.
- Baking: When baked at 400°F, chicken tenders take about 20 minutes. Flip them halfway through for even crispiness.
- Air Frying: At 375°F in an air fryer, tenders are ready in 12-15 minutes. Remember to check that the internal temperature of the chicken reaches 165°F to ensure they’re safely cooked.
What Are the Best Side Dishes for Chicken Tenders?
Pairing your crispy chicken tenders with the right sides can elevate your meal. Here are some popular options:
- French Fries: Classic and crispy, fries are the perfect complement to chicken tenders.
- Coleslaw: A creamy and tangy side that balances the crunch of the tenders.
- Fresh Salad: For a healthier option, serve your tenders with a light garden or Caesar salad. The freshness of the greens adds a great contrast to the savory chicken.

“Looking for more delicious chicken dishes? Be sure to check out our Chicken Parmesan Recipe or try our irresistible Crack Chicken Recipe for more tasty ideas!”
Chef’s Note:
In summary, making perfectly crispy chicken tenders at home is easier than you think. By marinating the chicken in buttermilk, using the right breading technique, and choosing the best cooking method, you can achieve tenders that are both juicy and crunchy. Additionally, experimenting with spices and sauces allows you to customize the recipe to suit your taste.
So why wait? Gather your ingredients, follow this step-by-step chicken tenders recipe, and treat yourself and your loved ones to a delicious homemade meal. Once you try it, you’ll never want store-bought tenders again!
If you enjoyed this recipe, don’t forget to share your experience in the comments below. Furthermore, explore our other recipes for more culinary inspiration. Finally, subscribe to our blog to stay updated on the latest easy and flavorful dishes.

2 thoughts on “Chicken Tenders Recipe: How to Make Perfectly Crispy Tenders”