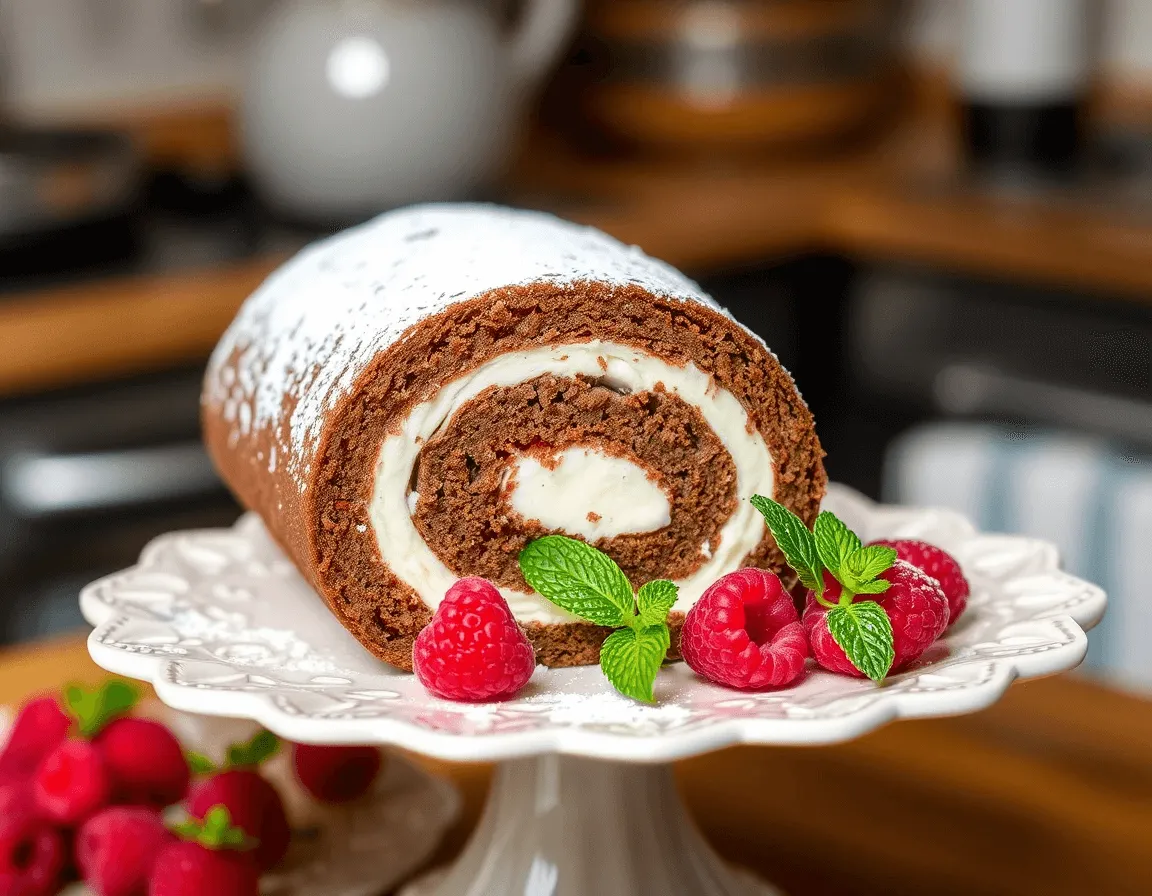
The Magic of a Light and Fluffy Chocolate Swiss Roll Recipe 🎂✨
You know what’s better than cake? Cake you can roll up like a cozy chocolate burrito. If you’re a chocolate lover, you’ll also adore this Best Swiss Chocolate Cake Recipe: Rich, Decadent, & Irresistible . It’s another showstopper! (Yes, I just called it that.) Ever had one of those light and fluffy chocolate Swiss roll recipes where the sponge is so soft it practically melts in your mouth? This recipe will help you master that perfect texture! And then there’s the filling—oh, the filling! Creamy, dreamy, and decadent, it’s the kind of dessert that makes people go, “Wow, did you really make this yourself?” Spoiler alert: You totally can.
Let me take you back for a sec. When I was little, my grandma used to whip these out during the holidays. She’d call it her “secret weapon” because no one could resist sneaking seconds. But here’s the thing—I tried making one myself once when I was about 12. Big mistake. Huge. It cracked, It crumbled. It looked more like a chocolate pancake than a fancy dessert. 😅 But hey, we laughed, slathered on some extra frosting to cover the cracks, and ate it anyway. That’s the beauty of baking—it doesn’t have to be perfect to taste amazing.
Fast forward to now, and I’ve got the process down pat. Seriously, you’ll wonder why you haven’t been making Swiss rolls all along. The secret? Whisking those egg whites till they’re stiff as clouds (you’ll need an electric mixer for this—I use my KitchenAid, but a hand mixer works too). Then folding them into the batter with a spatula… gently, gently, like you’re tucking in a baby. Don’t rush it!
And oh, the smell while it bakes—pure heaven. Your kitchen will fill with this warm, rich cocoa aroma that’ll make everyone come running. Once it’s done, you’ll roll it up with parchment paper while it’s still warm. Sounds scary, right? But don’t worry—I’ll walk you through it step by step so your cake doesn’t end up looking like mine did at 12. 😉
So grab your ingredients, crank up your oven, and let’s get rolling. Trust me, once you nail this recipe, you’ll feel like a total rockstar. Ready? Let’s do this! 🍫💪
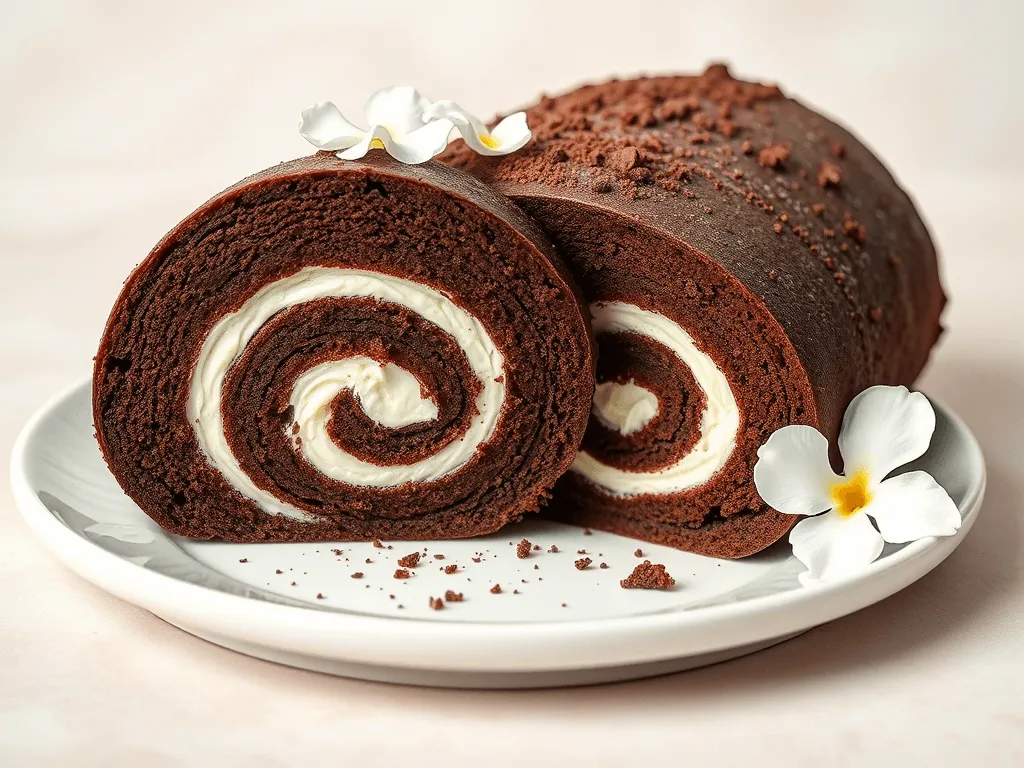
Ingredients: What You’ll Need to Whip Up This Dreamy Dessert
Alright, let’s talk ingredients. These are the building blocks of your light and fluffy chocolate Swiss roll, so pay attention! (No pressure, but they’re kinda important.) 😉 I’ll break it down into three sections—the sponge , the filling , and a few extras —so you don’t get overwhelmed. Ready? Let’s dive in.
Qwen2.5-Max
Ingredients: What You’ll Need to Whip Up This Dreamy Dessert 🛒
Alright, let’s talk ingredients. These are the building blocks of your light and fluffy chocolate Swiss roll, so pay attention! (No pressure, but they’re kinda important.) 😉 I’ll break it down into three sections—the sponge , the filling , and a few extras —so you don’t get overwhelmed. Ready? Let’s dive in.
The Sponge: The Star of the Show
This is where the magic happens. The sponge is what makes your Swiss roll light, airy, and oh-so-soft. Here’s what you’ll need:
- Eggs (separated into yolks and whites—you’ll see why soon)
- Granulated sugar (I like Domino’s, but any brand works fine)
- All-purpose flour (measured carefully—don’t eyeball it!)
- Cocoa powder (go for unsweetened; trust me, it makes a difference)
- Baking powder (just a teaspoon—it’s the lift your cake needs)
- A pinch of salt (because everything tastes better with a little balance)
For the richest chocolate flavor, use high-quality cocoa powder. This guide to choosing the best cocoa powder will help you pick the perfect one for your Swiss roll.
Oh, and here’s a pro tip: Sift that cocoa powder and flour together before mixing. It’s not strictly necessary, but it helps avoid lumps. Plus, sifting feels fancy, doesn’t it? Like you’re about to bake something truly magical.
The Filling: Creamy, Dreamy, and Totally Customizable
Now onto the good stuff—the filling. Whether you’re making a classic whipped cream version or something fancier, this light and fluffy chocolate Swiss roll recipe gives you room to get creative! My go-to? A simple whipped cream filling with a hint of vanilla. But hey, feel free to jazz it up however you like!
- Heavy cream (cold, straight from the fridge—it whips better that way)
- Powdered sugar (for sweetness without the grit)
- Vanilla extract (I swear by Trader Joe’s, but honestly, any will do)
And if you’re feeling adventurous, throw in some chocolate ganache or even a smear of Nutella. Why not? Life’s too short for boring fillings.
A Few Extras: Little Things That Make a Big Difference
Okay, this last part is short and sweet, but don’t skip it. These extras might seem small, but they make all the difference.
- Butter (for greasing the pan—don’t skimp on this step!)
- Parchment paper (your best friend when rolling cakes)
- A splash of milk (optional, just in case your batter needs a bit more moisture)
Fun story: Once, I forgot the parchment paper and tried using foil instead. Big mistake. The cake stuck, ripped, and basically fell apart. Lesson learned: Always use parchment paper. Always. (Seriously, it’s a lifesaver.)
So there you have it—everything you need to create this masterpiece. Simple, right? Now let’s move on to the fun part: putting it all together. Spoiler alert: You’re gonna crush it.
Step-by-Step Instructions: Let’s Roll (Literally!)
Alright, friend, this is where the rubber meets the road—or rather, where the batter meets the oven. Don’t stress! I’ll walk you through every step, and before you know it, you’ll have a light and fluffy chocolate Swiss roll that’ll make your taste buds do a happy dance. Let’s break it down into three main stages: prepping the sponge , whipping up the filling , and rolling like a pro .
Prepping the Sponge: The Foundation of Your Masterpiece
Set your oven’s temperature to 350°F (175°C) first.Give it ten to twelve minutes in the oven. Grab your trusty jelly roll pan (or any rimmed baking sheet) and line it with parchment paper. Grease it lightly with butter—don’t skip this step unless you want your cake to stick like glue. (Trust me, I’ve been there.)
Now, let’s talk eggs. Separate the yolks from the whites—you’ll need both, but they play different roles here. Start by beating the egg yolks with half the sugar until they’re pale and creamy. It’s kinda satisfying watching them transform, right? Then, sift in your cocoa powder, flour, and baking powder. Fold it all together gently—no aggressive mixing allowed! We’re aiming for soft, airy texture here.
Next up: whisking those egg whites. This is where the magic happens. Grab your electric mixer (or flex those arm muscles if you’re doing it by hand) and beat the whites until they form stiff peaks. Add the rest of the sugar gradually while whisking—it’ll make them glossy and smooth. Now, here’s the tricky part: gently fold the whipped egg whites into the batter. Think of it like tucking them in, not stirring them in. You want to keep all that airiness intact.
Spread the batter onto your prepared pan, smoothing it out evenly. Give it ten to twelve minutes in the oven. And here’s a tip: don’t overbake it! The sponge should spring back when you touch it lightly. Overbaking = dry cake = sad face. 😢
Whipping Up the Filling: Creamy Goodness Awaits
While the sponge cools, let’s tackle the filling. Grab your heavy cream (cold, remember?) and whip it until it starts to thicken. Add powdered sugar and a splash of vanilla extract—I use Trader Joe’s because it smells amazing—and keep whipping until it’s light and fluffy. Taste test? Absolutely necessary. (You’re the quality control officer here.)
If you’re feeling fancy, melt some chocolate and swirl it into the cream. Or go wild with Nutella. Why not? Life’s too short for boring fillings, am I right?
Rolling Like a Pro: The Final Stretch
cool enough to handle, dust it lightly with powdered sugar (this prevents sticking). Then, using the parchment paper as a guide, start rolling it up tightly from one end. Don’t panic if it cracks a little—that’s what frosting is for!
Let it sit rolled up for a bit while you chill the filling. Then unroll it carefully, spread on your filling, and roll it back up. Ta-da! You’ve got yourself a Swiss roll.
And hey, even if it’s not perfect, who cares? It’ll still taste incredible. Slice into it, watch the layers reveal themselves, and enjoy the fruits of your labor. You did it! 🙌
To achieve those perfect stiff peaks when whisking egg whites, check out this step-by-step guide to mastering meringue . It’s a game-changer for light and airy bakes like this Swiss roll!
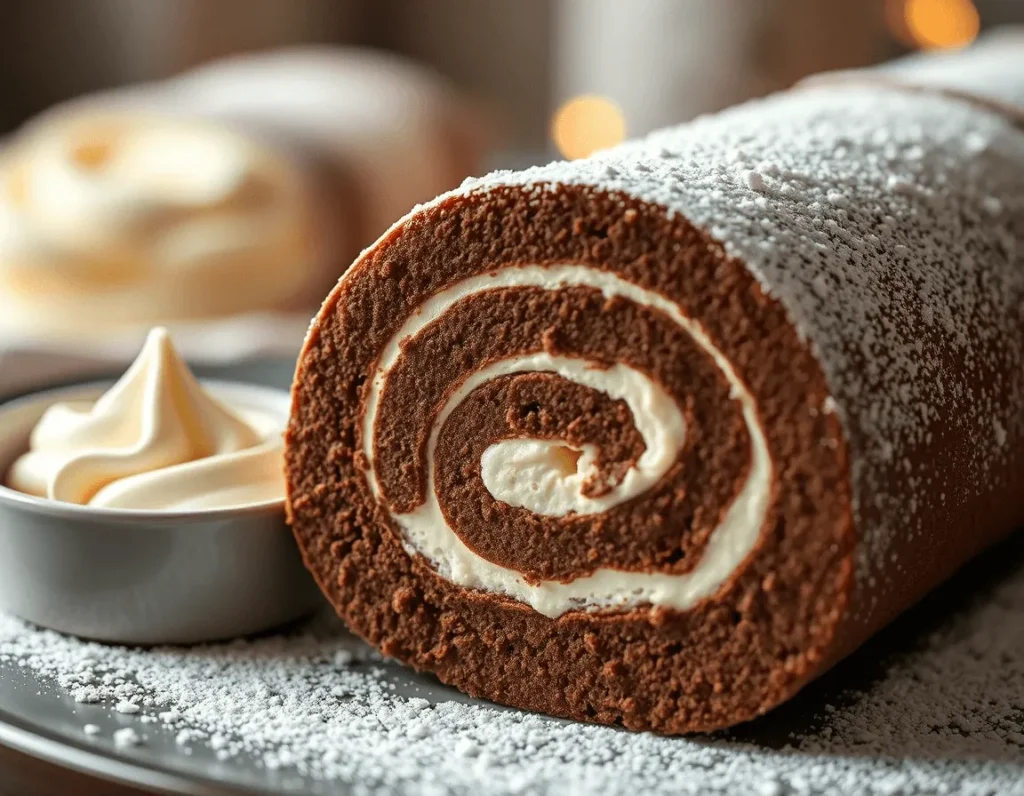
Tips & Tricks: Secrets to Nailing Your Swiss Roll Like a Pro
Alright, let’s get real for a sec. Baking a Swiss roll can feel like walking a tightrope—exciting but kinda nerve-wracking. What if it cracks; What if the sponge is too dry? What if you accidentally roll it into a pancake? (Okay, maybe that last one’s just me.) But don’t worry—I’ve got your back with these tried-and-true tips to keep things smooth, soft, and stress-free. Let’s dive in.
Preventing Swiss Roll Cracks: The Ultimate Hack
Ever had your cake crack mid-roll? Yeah, I’ve been there—it’s not fun. But here’s the deal: cracks happen when the sponge is either overbaked or rolled too late. So how do you avoid them?
First, don’t overbake the sponge. Seriously, set a timer and stick to it. You want the cake to be springy and soft, not crisp or dry. Think of it like a pillow—not a cracker. And while it’s still warm (but not hot), roll it up gently with the parchment paper inside. Why? Rolling it warm helps “train” the cake to hold its shape later. Genius, right?
Oh, and one more thing: dust the cake with powdered sugar before rolling. It’s like giving it a little protective coat so it doesn’t stick to itself. Works like a charm!
Soft Sponge Cake Tips: Keep It Light and Fluffy
The secret to a soft sponge for your light and fluffy chocolate Swiss roll recipe? Air. Lots of it. Whisk those egg whites until they’re stiff and glossy—it’s a game-changer! That’s why whisking those egg whites till they’re stiff and glossy is non-negotiable. (Pro tip: Use a clean, dry bowl—any grease will sabotage your whites.) And when you fold them into the batter, go slow. Be gentle. Treat them like clouds, not mashed potatoes.
Also, don’t skip sifting your flour and cocoa powder. I know it feels extra, but it makes a difference. Plus, it’s kinda therapeutic. Try it—you’ll see what I mean.
Filling Without the Mess: Spread Like a Boss
Now, about that filling. Ever tried spreading whipped cream on a cake only to have it squish out the sides? Yep, messy business. Here’s my trick: chill the filling slightly before spreading. It firms up just enough to stay put without being rock-hard. And use an offset spatula if you’ve got one—it’s a game-changer. (If not, a butter knife works too. No judgment here.)
Rolling Like a Champ: Confidence Is Key
Here’s the truth: even if your light and fluffy chocolate Swiss roll recipe doesn’t look perfect, it’ll still taste amazing. Frosting covers a multitude of sins—trust me! So take a deep breath, grab that parchment paper, and roll it up like you mean it. If it cracks a little, who cares? Frosting covers a multitude of sins.
Fun story: My first Swiss roll looked like a lopsided burrito. Did I cry? Maybe a little. Did I eat the whole thing anyway? Absolutely. Moral of the story? Perfection’s overrated. Just have fun with it.
And hey, once you slice into it, watch how the layers peek out—soft sponge, creamy filling, chocolatey goodness. Smell that rich cocoa aroma? Worth every second, right? You’ve got this!
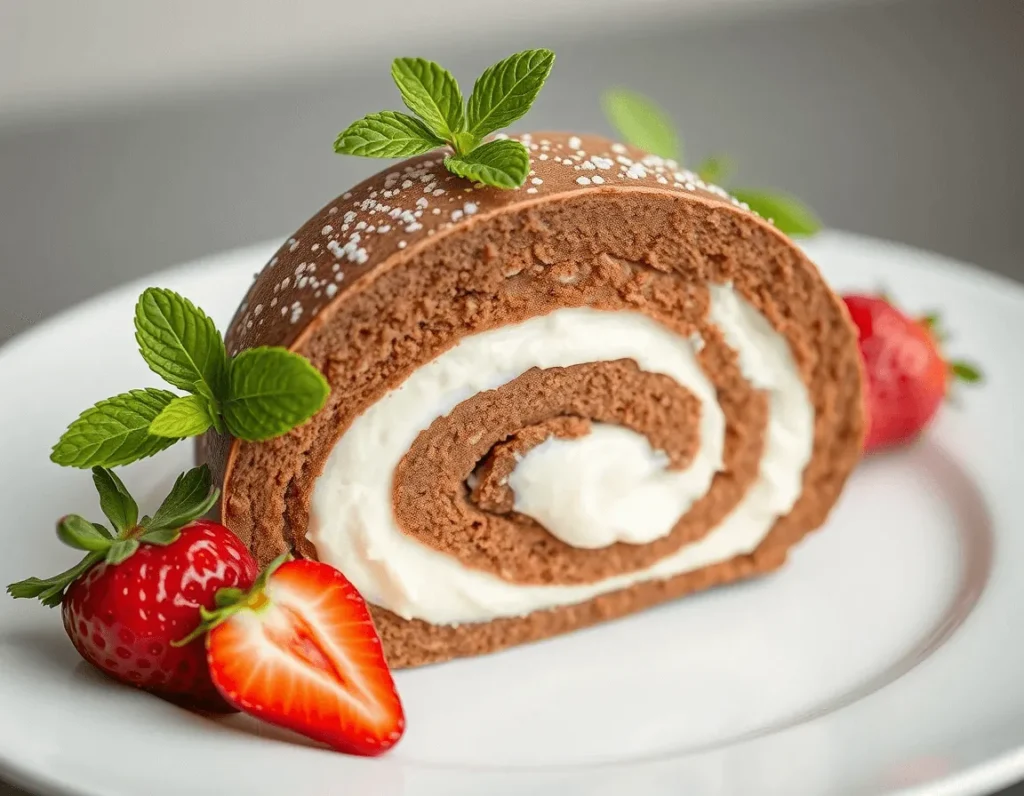
Filling Ideas: Get Creative with What’s Inside
Let’s talk fillings—the heart and soul of your light and fluffy chocolate Swiss roll recipe. From classic vanilla cream to decadent ganache, the options are endless! Sure, you could go classic with whipped cream or chocolate ganache, but why stop there? This is your chance to get creative, have fun, and make this dessert truly yours. I’ll share a few ideas to inspire you, plus some tips on how to make them extra special. Ready to dream up something delicious? Let’s go!
Classic Vanilla Cream: Simple but Never Boring
You can’t go wrong with vanilla cream—it’s light, sweet, and pairs perfectly with the rich chocolate sponge. Here’s how I like to do it: whip up some heavy cream (cold, straight from the fridge), add a generous sprinkle of powdered sugar, and throw in a splash of vanilla extract. (I use Trader Joe’s—it’s my secret weapon.)
The result? A cloud-like filling that melts in your mouth. And here’s a little trick: chill the whipped cream for 10-15 minutes before spreading it onto the cake. It holds its shape better that way. Plus, the cool cream against the soft sponge? Pure magic.
Decadent Chocolate Ganache: For the True Chocoholics
If you’re a chocolate lover, listen up. Chocolate ganache is where it’s at. Heat some heavy cream until it’s warm (not boiling), pour it over chopped dark chocolate, and let it sit for a minute. Then stir it gently until it’s glossy and smooth. Smell that?It resembles a cozy embrace in the form of dessert.
Once it’s cooled slightly but still spreadable, slather it onto your sponge. Roll it up, and boom—you’ve got yourself a double-chocolate masterpiece. Pro tip: Use Ghirardelli or Lindt chocolate if you’re feeling fancy. Your taste buds will thank you.
Nutella Swirl: Because Why Not?
Okay, confession time: Nutella might be my weakness. So naturally, I had to try swirling it into my Swiss roll once. Best decision ever. Spread a thin layer of whipped cream first, then dollop spoonfuls of Nutella on top. Use a knife to swirl it around for that marbled effect—it’s almost too pretty to eat. Almost.
And oh, the smell while it’s baking? Unreal. The hazelnut-chocolate combo fills your kitchen with this cozy, indulgent aroma that’ll have everyone asking, “What are you making?”
Fruit-Filled Fun: Add a Pop of Freshness
Want to lighten things up a bit? Try adding fresh fruit to your filling—like cherries! Speaking of cherries, check out this amazing Cherry and Chocolate Cake: Secrets to a Moist and Flavorful Treat . It’s the perfect balance of fruity and chocolatey goodness. Strawberries, raspberries, or even sliced bananas work beautifully. Just chop them up small so they don’t squish when you roll the cake.
One summer, I made a lemon curd and blueberry Swiss roll for a family gathering. The tangy citrus paired with the juicy berries was chef’s kiss . Everyone raved about it—and asked for seconds. (Always a win!)
Mint Chocolate Chip: A Twist That’ll Surprise You
Here’s a fun one: mix crushed mint Oreos into your whipped cream for a mint chocolate chip vibe. Or, if you’re feeling adventurous, add a drop of peppermint extract to plain whipped cream. It’s refreshing, unexpected, and totally Instagram-worthy. Trust me, people will ask for the recipe.
So there you have it—a few ideas to take your Swiss roll from good to unforgettable. Whether you stick to the classics or go wild with flavors, the key is to have fun with it. After all, desserts are meant to bring joy—so pick what makes YOU happy. Now, which filling are you trying first? 😉
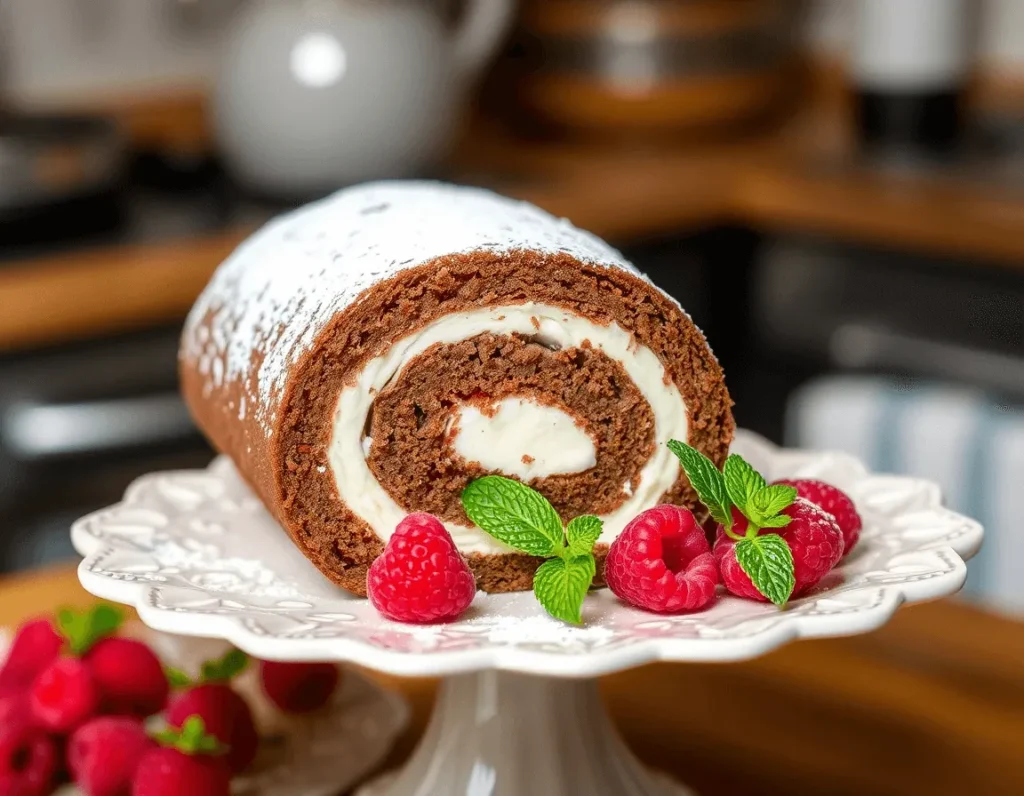
Why This Light and Fluffy Chocolate Swiss Roll Recipe Is a Game-Changer 🎂✨
Alright, let’s get real for a sec. If you’ve made it this far, you’re probably thinking, “Okay, but is it really worth the effort?” Spoiler alert: It absolutely is. This light and fluffy chocolate Swiss roll recipe isn’t just another dessert—it’s an experience. From the moment your kitchen fills with that warm, rich cocoa aroma to the first slice revealing those gorgeous layers, you’ll know you’ve created something special.
Here’s the thing: this recipe works. It’s forgiving enough for beginners (even if it cracks, frosting saves the day!), but impressive enough to wow anyone who tries it. Remember my grandma’s holiday Swiss rolls I told you about earlier? She always said the secret wasn’t perfection—it was heart. And that’s just what this recipe offers.
The sponge is light as air, the filling options are endless, and the whole process is surprisingly doable. You don’t need fancy tools or hard-to-find ingredients—just a little patience and a willingness to have fun. (And maybe some Trader Joe’s vanilla extract. Seriously, it’s amazing.)
So here’s my challenge to you: give it a shot. Whether you’re baking for a birthday, a cozy family dinner, or just because you feel like treating yourself, this light and fluffy chocolate Swiss roll will not disappoint. Picture this: you slice into it, the layers peek out, the filling oozes slightly, and the first bite practically melts in your mouth. Sounds good, right?
And hey, even if it doesn’t turn out perfectly (because let’s be honest, does anything ever?), who cares? It’ll still taste incredible. Plus, there’s something so satisfying about rolling up a cake and calling it your own. Trust me, once you try it, you’ll be hooked.
So grab those eggs, dust off your whisk, and let’s get baking! You’ve got this. And when you nail it—and you will—I’d love to hear all about it. Drop me a comment or tag me in your pics. Happy rolling, friend! 🍫💪🎉
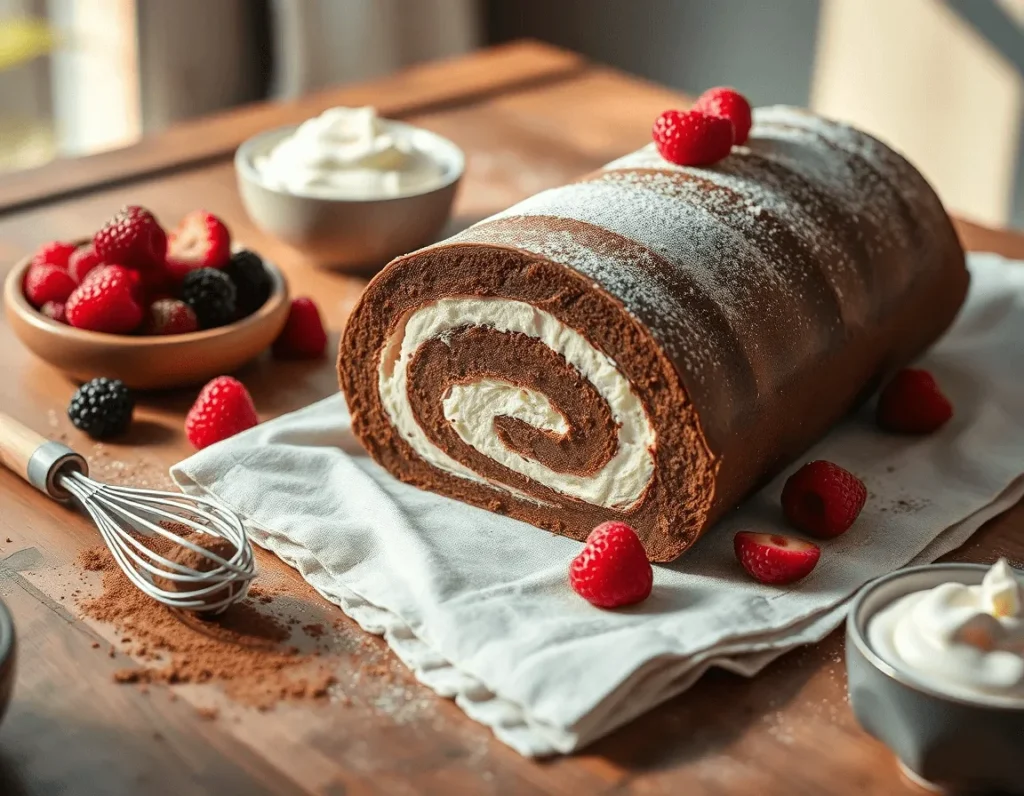
FAQ: Your Burning Swiss Roll Questions, Answered!
Got questions about making, storing, or even freezing your light and fluffy chocolate Swiss roll ? Don’t worry—I’ve got you covered. Here are some of the most common questions I hear from friends (and readers like you) about this dreamy dessert. Let’s dive in!
How to Store a Swiss Roll So It Stays Fresh?
Ever made a Swiss roll only to wonder how to keep it tasting as good as Day 1? Here’s the deal: Once your Swiss roll is rolled, filled, and fully cooled, wrap it tightly in plastic wrap. If you’re planning to eat it within a day or two, you can leave it at room temperature—just keep it away from direct sunlight or heat sources.
But if you’re not serving it right away, pop it in the fridge. The cool air helps preserve the filling (especially if it’s whipped cream or something perishable). Just make sure it’s wrapped snugly so it doesn’t dry out or absorb any funky fridge smells. When you’re ready to serve, let it sit at room temp for 10-15 minutes to take the chill off. Trust me, it tastes better that way.
Can I Freeze a Swiss Roll? Yes, You Can!
Here’s the good news: Swiss rolls freeze beautifully! In fact, freezing is a great way to extend its shelf life if you’re not planning to eat it right away. After rolling and filling your cake, wrap it tightly in plastic wrap, then again in aluminum foil for extra protection. Label it with the date (so you don’t forget what’s inside), and toss it in the freezer for up to 2-3 months.
When you’re ready to enjoy it, let it thaw in the fridge overnight. Before slicing, let it to come to room temperature. In the rolled position, allow it to cool completely. And here’s a pro tip: A dusting of powdered sugar after thawing can hide any condensation marks. No one will ever know it was frozen!
How to Prevent Swiss Roll Cracks While Rolling?
Ah, the dreaded cracks. We’ve all been there, right? But here’s the secret: roll your sponge while it’s still warm. Sounds scary, but trust me—it works. As soon as the cake comes out of the oven, dust it lightly with powdered sugar, grab that parchment paper, and gently roll it up. Let it cool completely in the rolled position. This “trains” the cake to hold its shape later when you unroll and re-roll it with the filling.
And if it does crack a little? Frosting is your best friend. Spread it generously over the cracks, and no one will notice. Crisis averted!
What’s the Best Filling for a Light and Fluffy Swiss Roll?
Honestly, it depends on your mood! For a classic option, go with whipped cream and vanilla extract—it’s light, airy, and pairs perfectly with the chocolate sponge. Want something richer? Try chocolate ganache or Nutella swirls. Love fruit? Add fresh berries or a tangy lemon curd.
Pro tip: If you’re using whipped cream, chill it slightly before spreading. It holds up better that way. And don’t be afraid to mix and match flavors—this is your masterpiece, after all!
Can I Make a Swiss Roll Ahead of Time?
Absolutely! Swiss rolls are actually a great make-ahead dessert. You can bake the sponge a day in advance, wrap it tightly, and store it at room temp or in the fridge until you’re ready to fill and roll. Or, if you’re prepping further ahead, freeze the unfilled sponge for up to a month. Just thaw it overnight in the fridge before assembling.
This makes it perfect for holidays or parties—you’ll save time and stress without sacrificing freshness. Win-win!
Why Did My Swiss Roll Turn Out Dry?
Dry Swiss roll? Ugh, the worst. Usually, this happens because the sponge was overbaked or left out too long before rolling. Remember, we’re aiming for soft and springy—not crisp or crumbly. Stick to the baking time (set a timer!) and roll it while it’s still warm. Oh, and don’t skip sifting your flour and cocoa powder—it keeps the texture light and airy.
“If you’re looking for more delicious dessert ideas, don’t miss this Quick Cherry Dump Cake: The Perfect 5-Minute Prep Dessert —it’s a lifesaver when you’re short on time but still want something sweet and satisfying!”

